|
Author
|
Message |
|
|
 Posted: Tue Jan 18, 2011 11:35 am Posted: Tue Jan 18, 2011 11:35 am |

|
|
|
|
Joined: Feb 07, 2010
Posts: 1031
Trade Rating: +7
Location: UK - North
|
 |
cool thanks i never really knew what to look for before. i will need to see if they'll throw up any light-out faults before bidding.
| |  |
|
|
 |
 | |  |
| Former owner of a 1.4 HDi for six years | |
 | |  |
|
|
|
 |
|
|
 Posted: Thu Jan 20, 2011 12:12 pm Posted: Thu Jan 20, 2011 12:12 pm |

|
|
|
|
Joined: Feb 07, 2010
Posts: 2248
Trade Rating: +18
Location: Leicester
|
 |
Right, update time! Fitted some gloss black handles to the car today and the front ones now have small LED's in them that light up when unlocked.
So, handle with led fitted in the rear
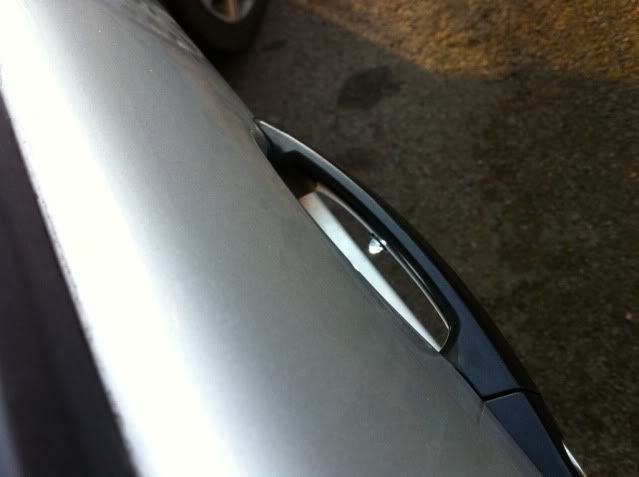
Basically i drilled a hole and fed the wires through the handle and filled the hollow part with silicon to waterproof it more.
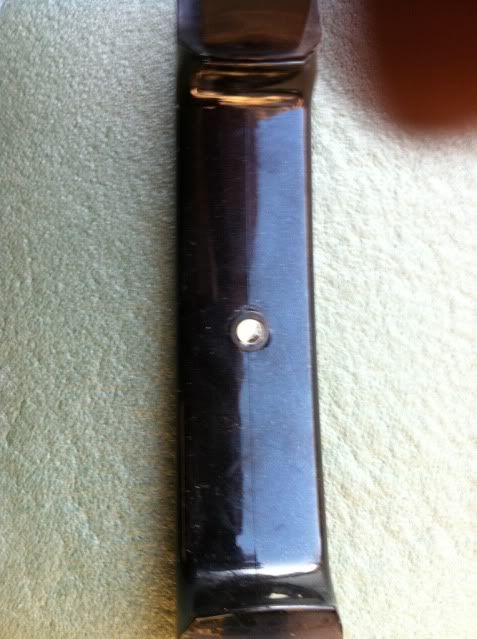
The exiting of the wire
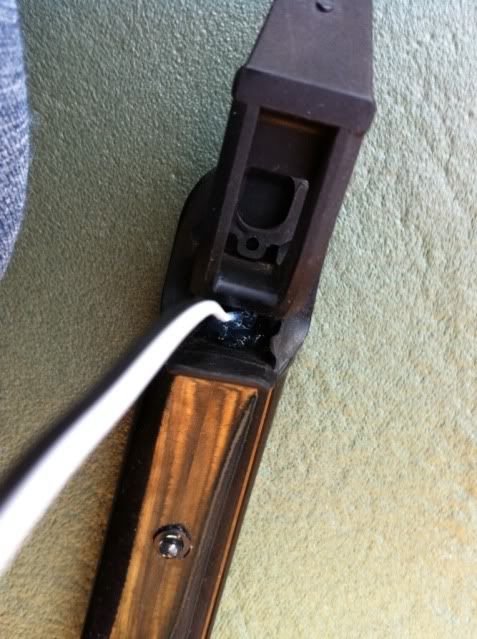
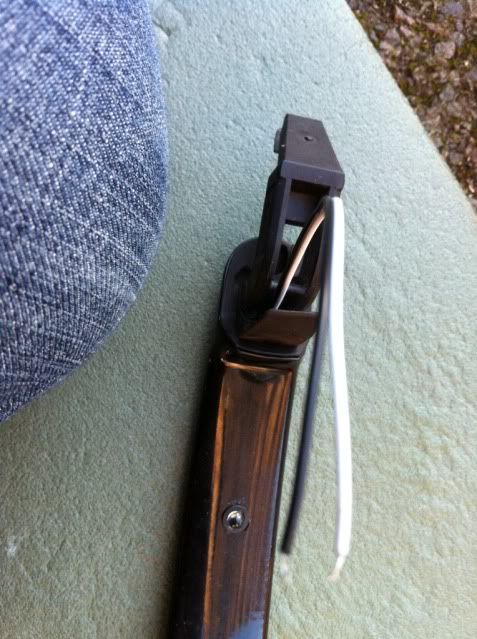
Joined the LED wires to some more wire after feeding it through the door
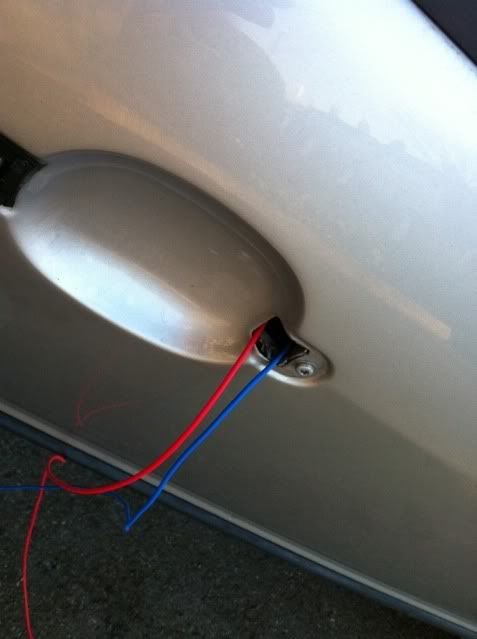
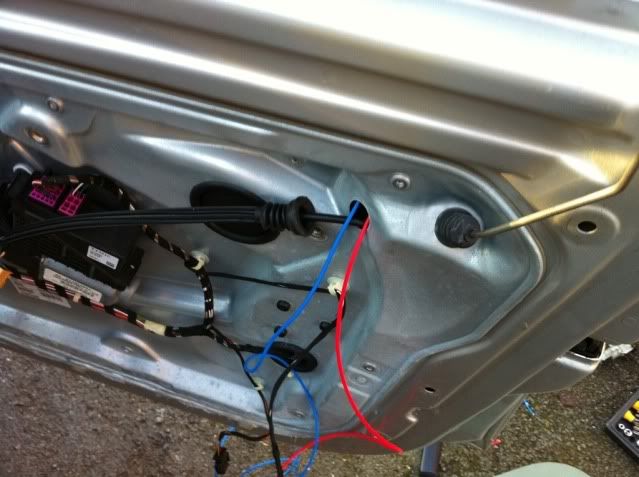
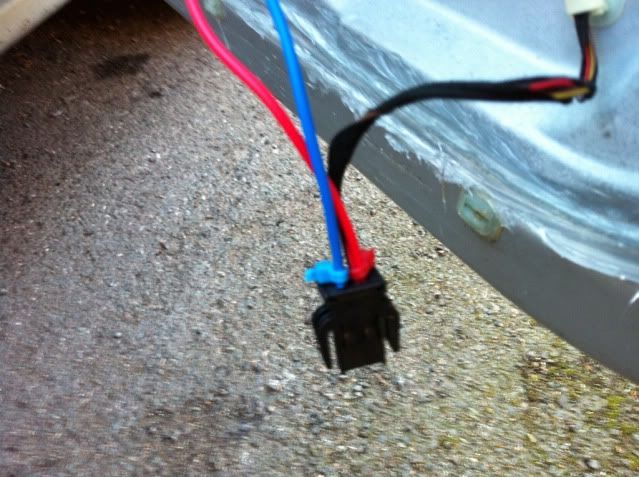
Then wired them into the lower door open/puddle light connector
Handle mounted on the door

Finally a video to show what the idea and outcome is all about
| |  |
|
|
 |
 | |  |
| NO LONGER ACTIVE ON THE FORUM | |
 | |  |
|
|
|
 |
|
|
 Posted: Thu Jan 20, 2011 12:14 pm Posted: Thu Jan 20, 2011 12:14 pm |

|
|
|
|
Joined: Feb 07, 2010
Posts: 2248
Trade Rating: +18
Location: Leicester
|
 |
thank for looking
| |  |
|
|
 |
 | |  |
| NO LONGER ACTIVE ON THE FORUM | |
 | |  |
|
|
|
 |
|
|
 Posted: Thu Jan 20, 2011 1:25 pm Posted: Thu Jan 20, 2011 1:25 pm |

|
|
|
|
Joined: Mar 03, 2010
Posts: 2636
Trade Rating: +11
Location: Black Country Ay I
|
 |
That looks awesome, great idea 
| |  |
|
|
 |
|
|
 |
|
|
 Posted: Thu Jan 20, 2011 2:26 pm Posted: Thu Jan 20, 2011 2:26 pm |

|
|
|
|
Joined: Jan 26, 2010
Posts: 3432
Trade Rating: +1
Location: Kent
|
 |
 Seen them on BM's they look really cool, you not doing the rears aswell? Seen them on BM's they look really cool, you not doing the rears aswell?
| |  |
|
|
 |
|
|
 |
|
|
 Posted: Thu Jan 20, 2011 2:42 pm Posted: Thu Jan 20, 2011 2:42 pm |

|
|
|
|
Joined: Feb 18, 2010
Posts: 4013
Trade Rating: +25
Location: Worcester
|
 |
| mattievrs wrote: |
| thank for looking |
I am constantly amazed at your little touches and modifications!
I am very impressed  
| |  |
|
|
 |
|
|
 |
|
|
 Posted: Thu Jan 20, 2011 4:02 pm Posted: Thu Jan 20, 2011 4:02 pm |

|
|
|
|
Joined: Feb 07, 2010
Posts: 2248
Trade Rating: +18
Location: Leicester
|
 |
| Dillon wrote: |
| :thumbsup: Seen them on BM's they look really cool, you not doing the rears aswell? |
Hopefully yeah but i ran out of LED's! So the gloss handles have gone on for now but they will be done sooner rather than later! 
| |  |
|
|
 |
 | |  |
| NO LONGER ACTIVE ON THE FORUM | |
 | |  |
|
|
|
 |
|
|
 Posted: Thu Jan 20, 2011 4:03 pm Posted: Thu Jan 20, 2011 4:03 pm |

|
|
|
|
Joined: Feb 07, 2010
Posts: 2248
Trade Rating: +18
Location: Leicester
|
 |
| Antix wrote: |
| mattievrs wrote: |
| thank for looking |
I am constantly amazed at your little touches and modifications!
I am very impressed   |
Cheers Ant! Im really happy with them, they came out better than i expected them to! 
| |  |
|
|
 |
 | |  |
| NO LONGER ACTIVE ON THE FORUM | |
 | |  |
|
|
|
 |
|
|
 Posted: Thu Jan 20, 2011 4:35 pm Posted: Thu Jan 20, 2011 4:35 pm |

|
|
|
|
Joined: Jan 14, 2011
Posts: 36
Trade Rating: 0
Location: shropshire
|
 |
I am quite a large fan of this car! good work mate. I think the little touches really make it!
| |  |
|
|
 |
 | |  |
| peugeot 206 2.0 hdi 51 plate | |
 | |  |
|
|
|
 |
|
|
 Posted: Mon Jan 24, 2011 9:49 am Posted: Mon Jan 24, 2011 9:49 am |

|
|
|
|
Joined: Feb 08, 2010
Posts: 6055
Trade Rating: +53
Location: Salisbury / New Forest
|
 |
Is it easy to remove the door cards & handles?
I'm thinking of colour coding the handles.
| |  |
|
|
 |
|
|
 |
|
|
 Posted: Mon Jan 24, 2011 9:52 am Posted: Mon Jan 24, 2011 9:52 am |

|
|
|
|
Joined: Feb 07, 2010
Posts: 2248
Trade Rating: +18
Location: Leicester
|
 |
| CD-vRS wrote: |
Is it easy to remove the door cards & handles?
I'm thinking of colour coding the handles. |
Nah. The handles come off from the outside mate.there's 2 covers on the side of the door that has screws behind.there's a how to on Brisky 
| |  |
|
|
 |
 | |  |
| NO LONGER ACTIVE ON THE FORUM | |
 | |  |
|
|
|
 |
|
|
 Posted: Mon Jan 24, 2011 7:08 pm Posted: Mon Jan 24, 2011 7:08 pm |

|
|
|
|
Joined: Feb 07, 2010
Posts: 2801
Trade Rating: +1
Location: Barry, South Wales
|
 |
Proper chav with all them LED's bruv!
but seriously love it. Little touchs are the best 
whats next?
| |  |
|
|
 |
|
|
 |
|
|
 Posted: Thu Feb 03, 2011 10:21 am Posted: Thu Feb 03, 2011 10:21 am |

|
|
|
|
Joined: Feb 07, 2010
Posts: 2248
Trade Rating: +18
Location: Leicester
|
 |
So, another update!!!
Had enough of feeling the metal inside the seat when getting in to it. So decided to sort it out!
The offending item after removal, seems its just worn through (sorry,no pics of the removal!)
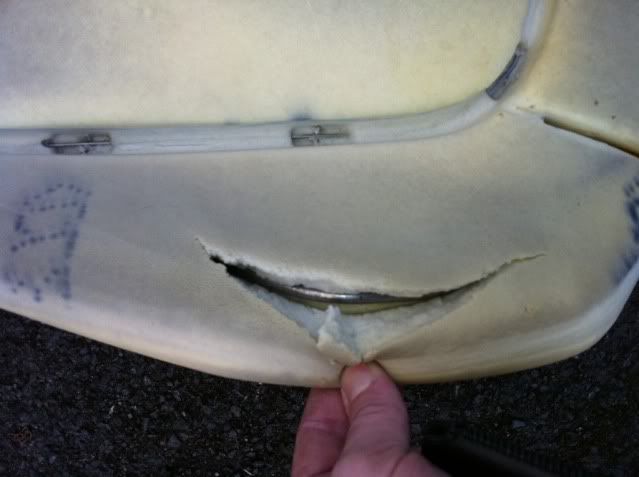
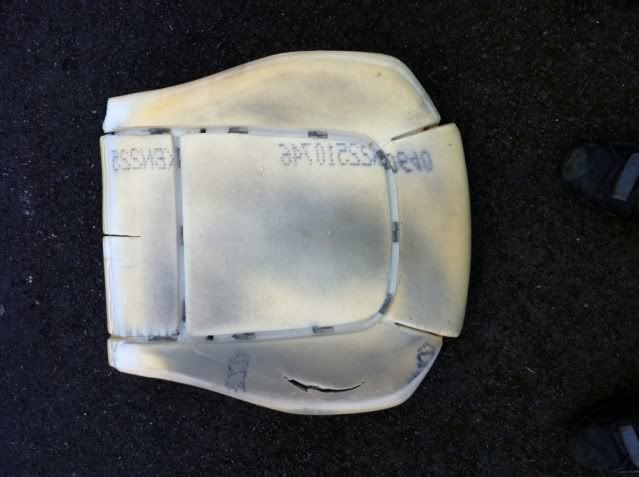
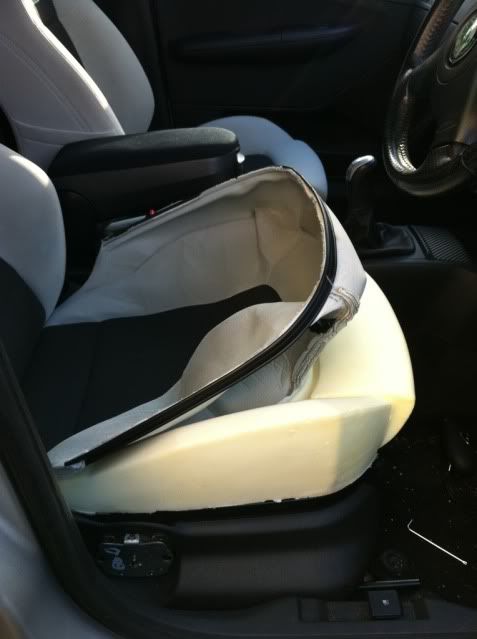
The new foam base on the seat frame with the seat cover over it
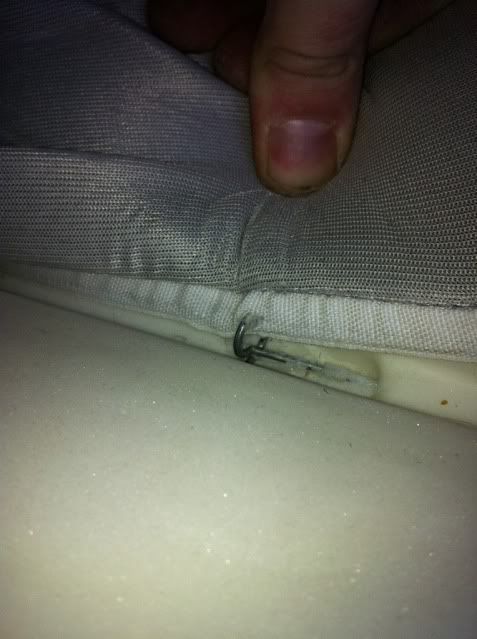
The seat cover fits back on using the old hog rings which pull the cover tight and shape it to the foam
End result! Well happy!
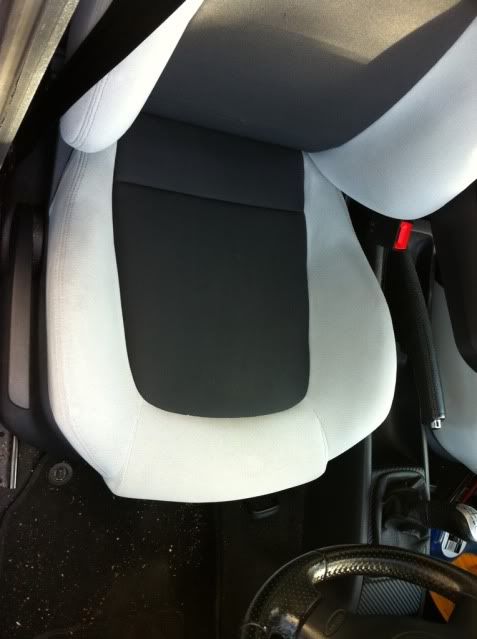
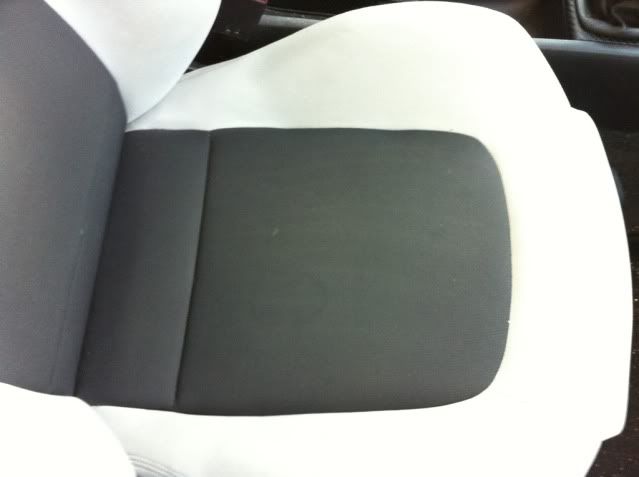
| |  |
|
|
 |
 | |  |
| NO LONGER ACTIVE ON THE FORUM | |
 | |  |
|
|
|
 |
|
|
 Posted: Thu Feb 03, 2011 12:21 pm Posted: Thu Feb 03, 2011 12:21 pm |

|
|
|
|
Joined: Feb 07, 2010
Posts: 2248
Trade Rating: +18
Location: Leicester
|
 |
And another update!!!!!
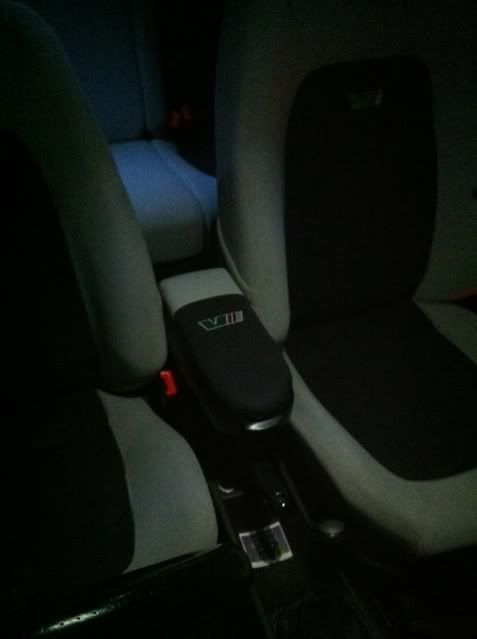
Got a bit bored with the black golf armrest so thought id pimp it!
So, one black armrest
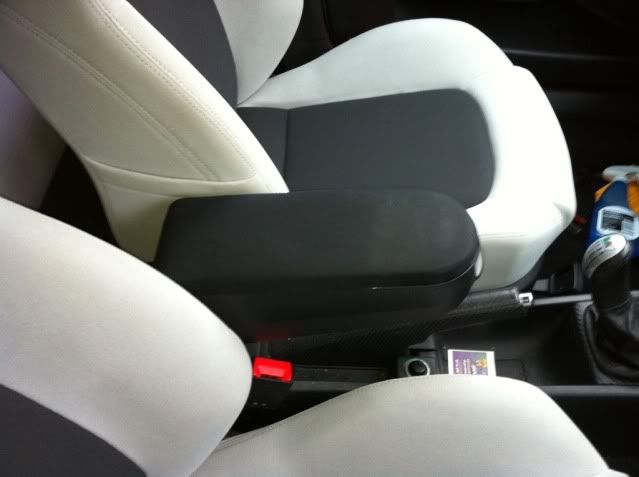
Pulled the top off(without breaking any clips!!!)
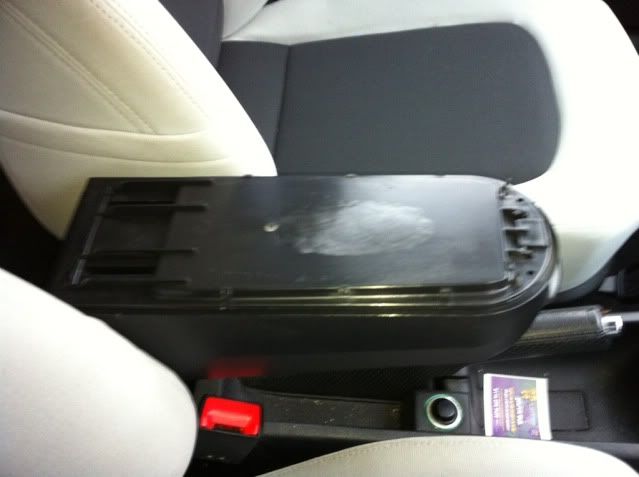
One old seat cover from a lad on Briskoda
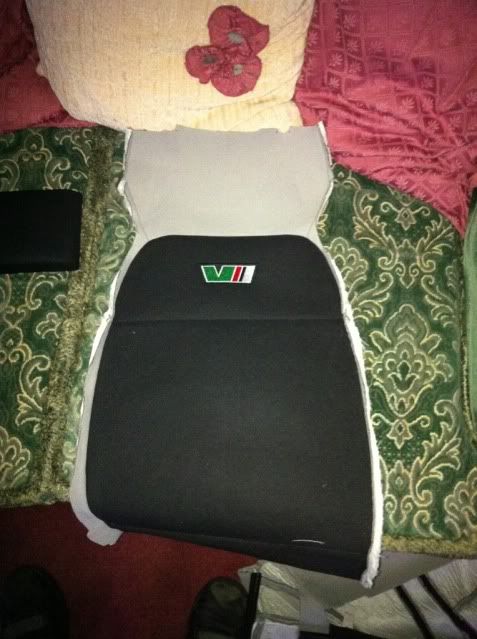
Cut it into a shape resembling the armrest
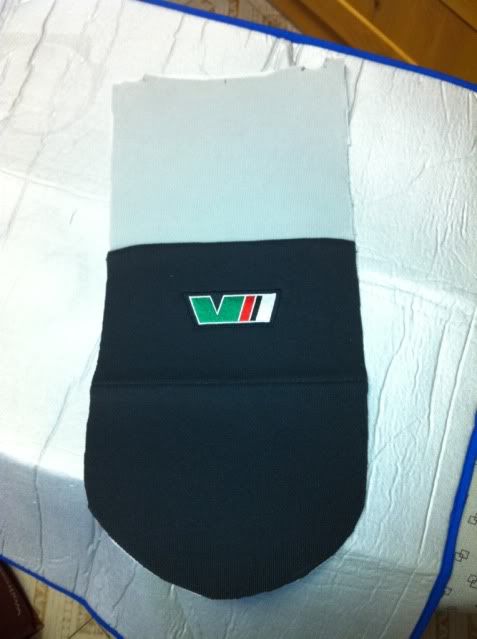
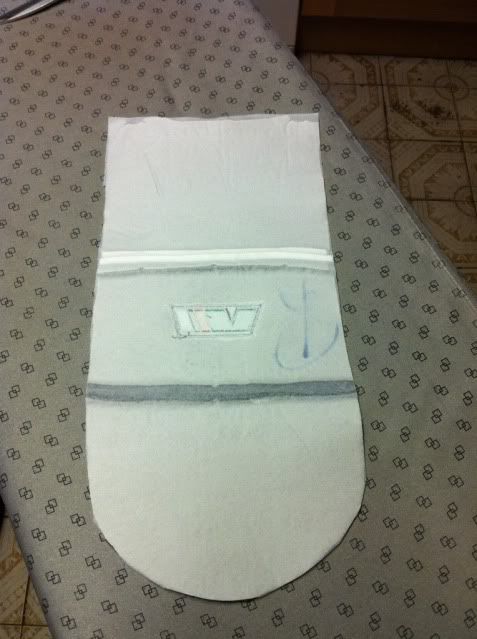
Add some iron on sticky wonder web
Get them both on the ironing board
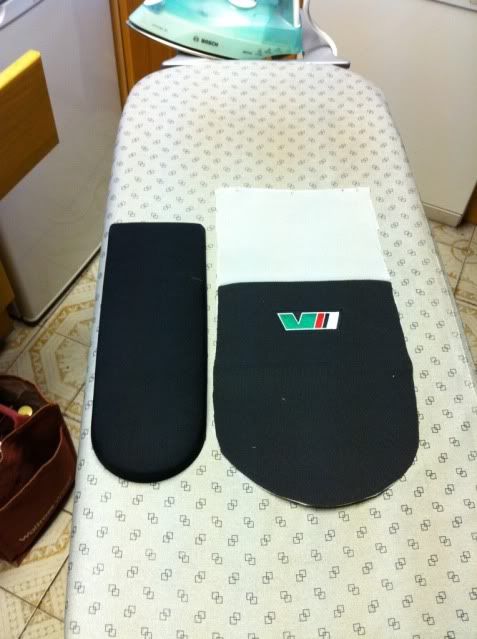
Then get the iron nice and hot and iron it to the top of the armrest
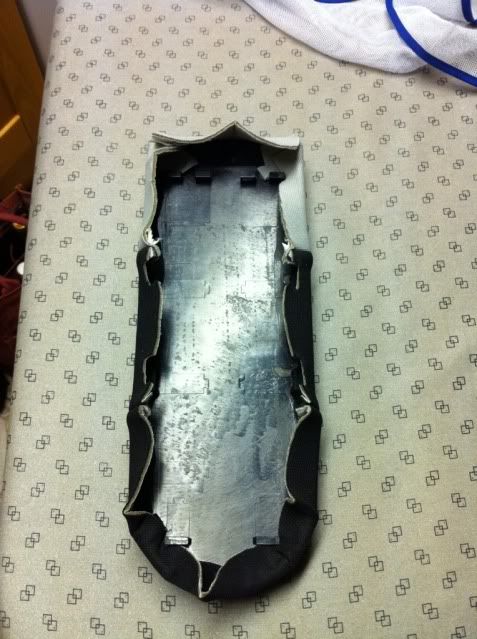
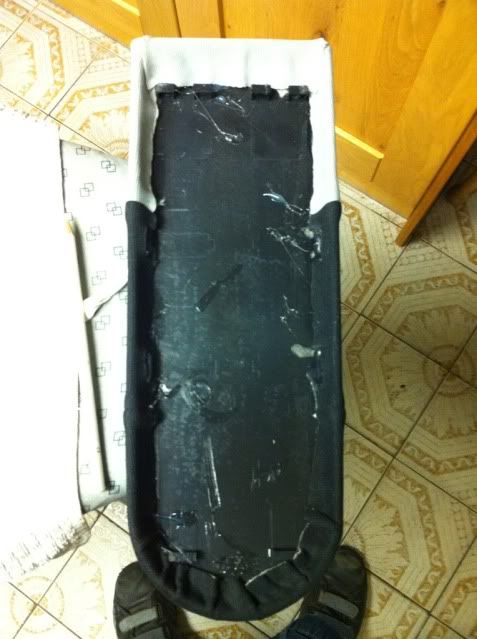
Then use a hot glue gun to tidy up the inside
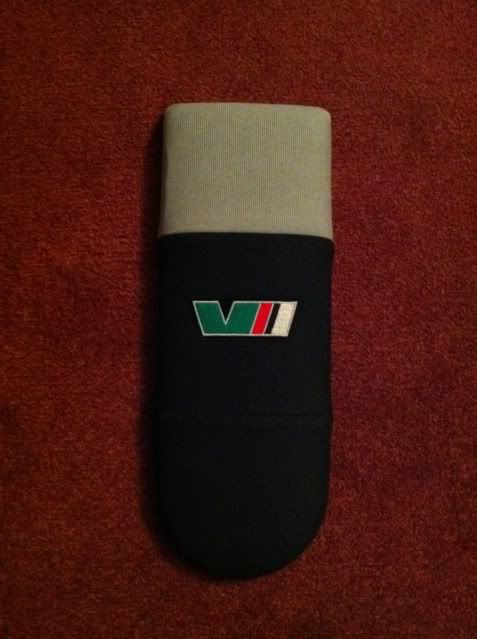
The final result
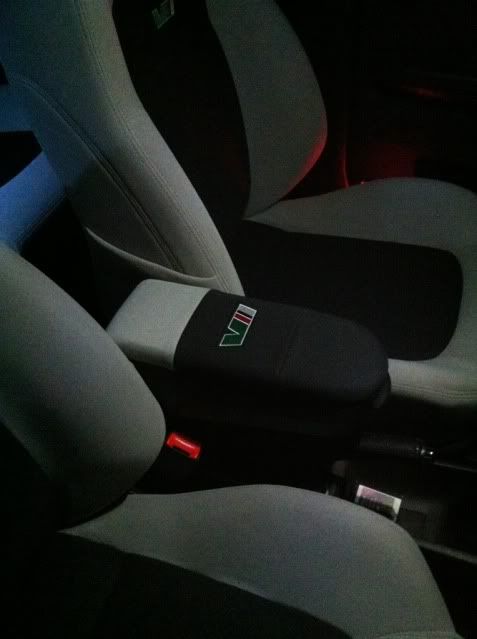
And now back in the car! Looks f*****g ace!
| |  |
|
|
 |
 | |  |
| NO LONGER ACTIVE ON THE FORUM | |
 | |  |
|
|
|
 |
|
|
 Posted: Thu Feb 03, 2011 12:24 pm Posted: Thu Feb 03, 2011 12:24 pm |

|
|
|
|
Joined: Feb 07, 2010
Posts: 1312
Trade Rating: 0
Location: Aberdeen, Scotland
|
 |
Impressive work with the armrest 
| |  |
|
|
 |
|
|
 |
 |