|
Author
|
Message |
|
|
 Posted: Sun Sep 25, 2011 11:31 am Posted: Sun Sep 25, 2011 11:31 am |

|
|
|
|
Joined: Feb 08, 2010
Posts: 960
Trade Rating: +11
Location: Hertfordshire
|
 |
Some of you know it, some of you dont. from the top then! 
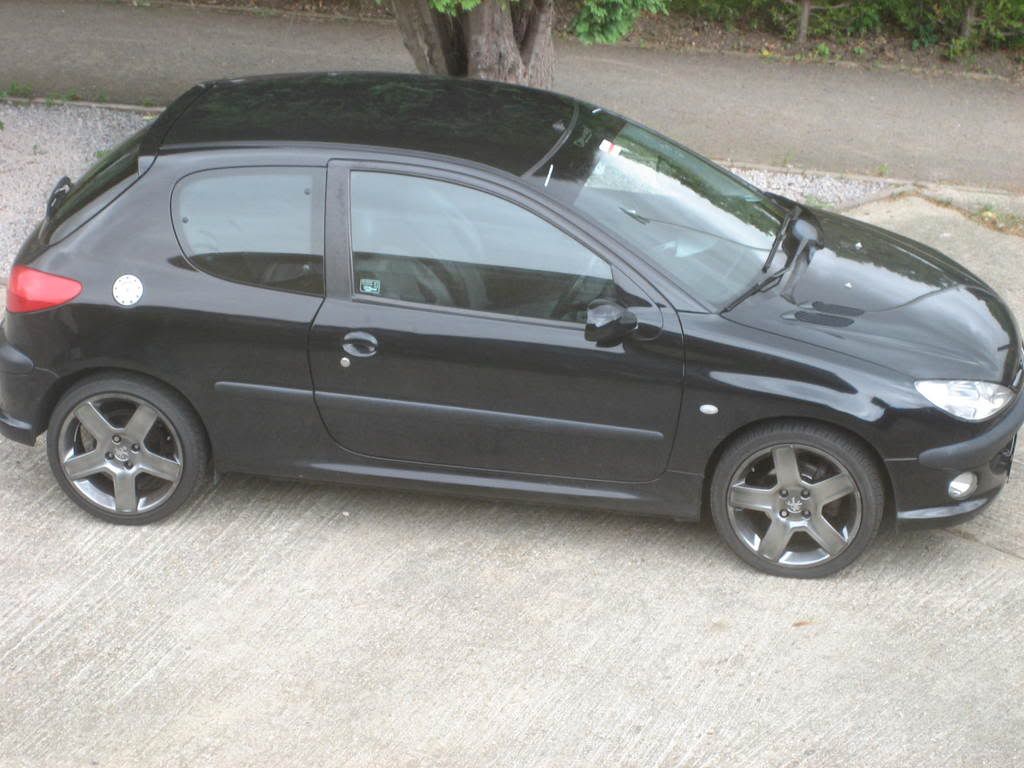
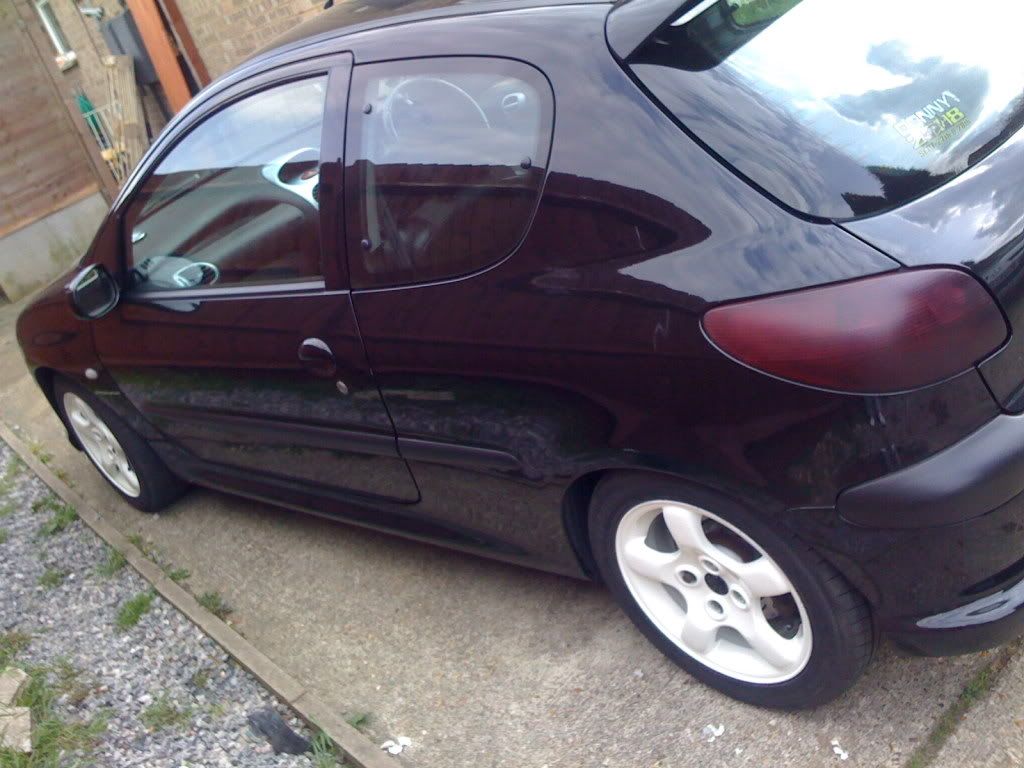
1999 (V) Peugeot 206 GTi
started life as this

completely standard, no factory upgrades whatsoever.
5days before USC 2008 she looked like this courtesy of some borrowed shadow chrome vortex alloys.
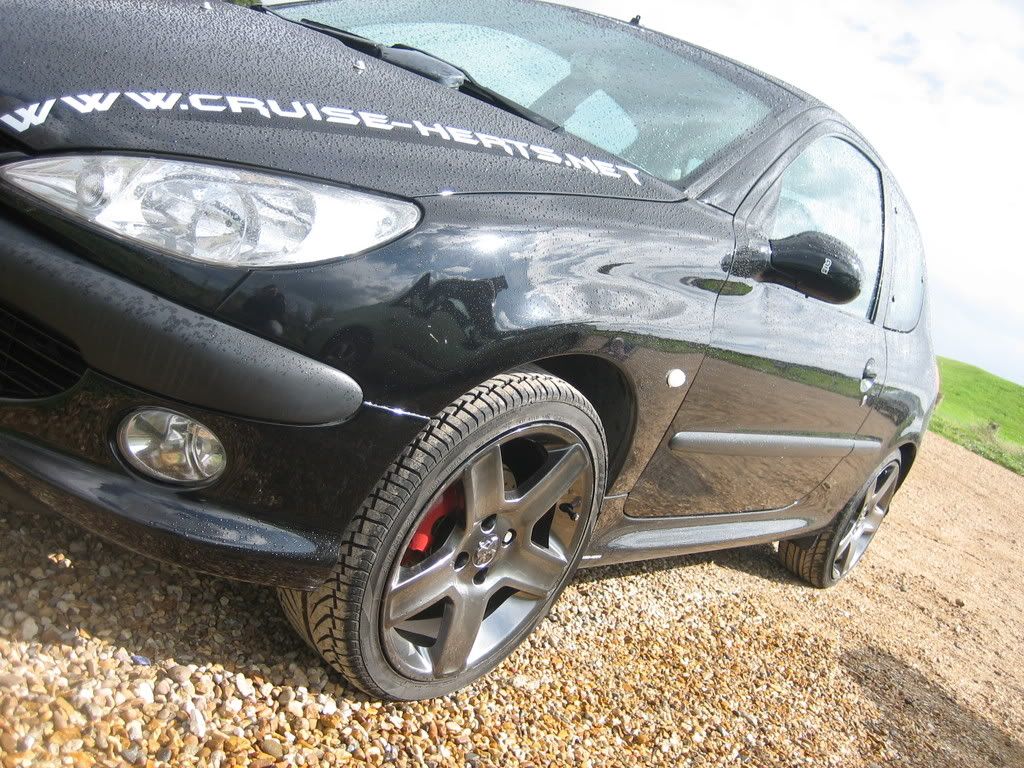
eventually they had to be given back. so back to standard 15" rims it went.
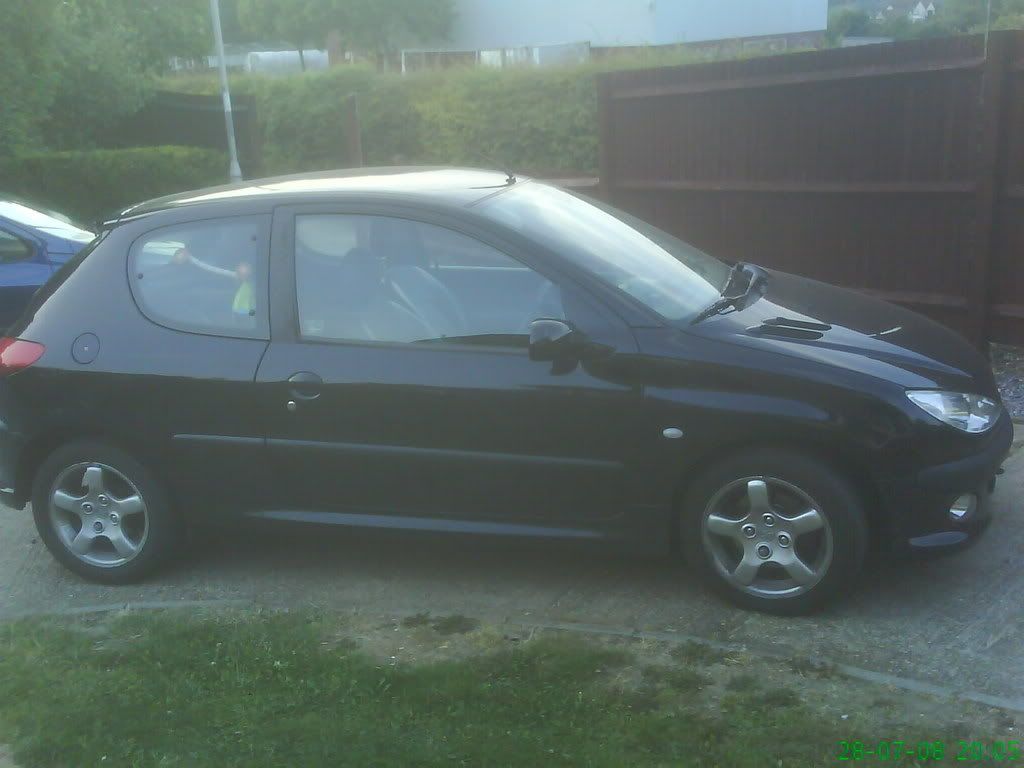
a few months past and the modifications had started.
new drilled and grooved discs at the front with EBC greenstuff pads.

Spax adjustable shocks with Koni -40mm springs upfront and the rear beam lowered to match.
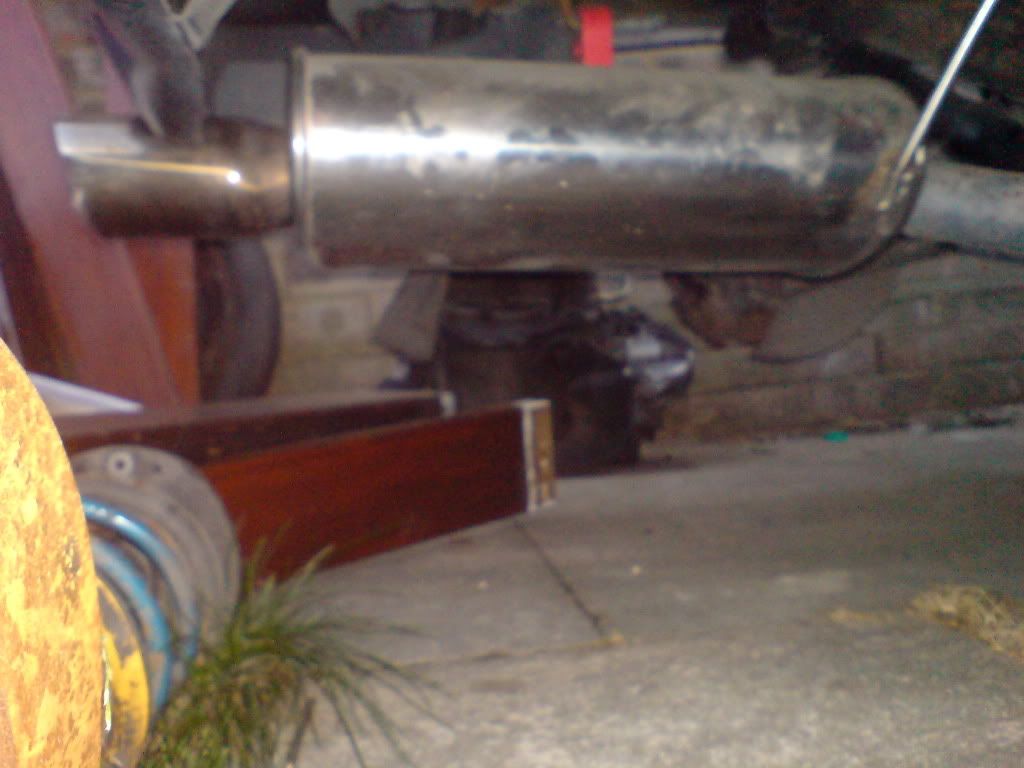
After driving some 5000 miles later, i got a blow in the center box. out came the entire system and in plonked a cat back PowerFlo exhaust system with 3" slash cut tip (excuse the pic! i cant find half the decent ones)
by this time i'd also changed the Headunit to a Pioneer 6.5" motorised DVD and bringing with me from the 307, the Vibe components, Rockford Punch P1 subs and the 1000w Amp.
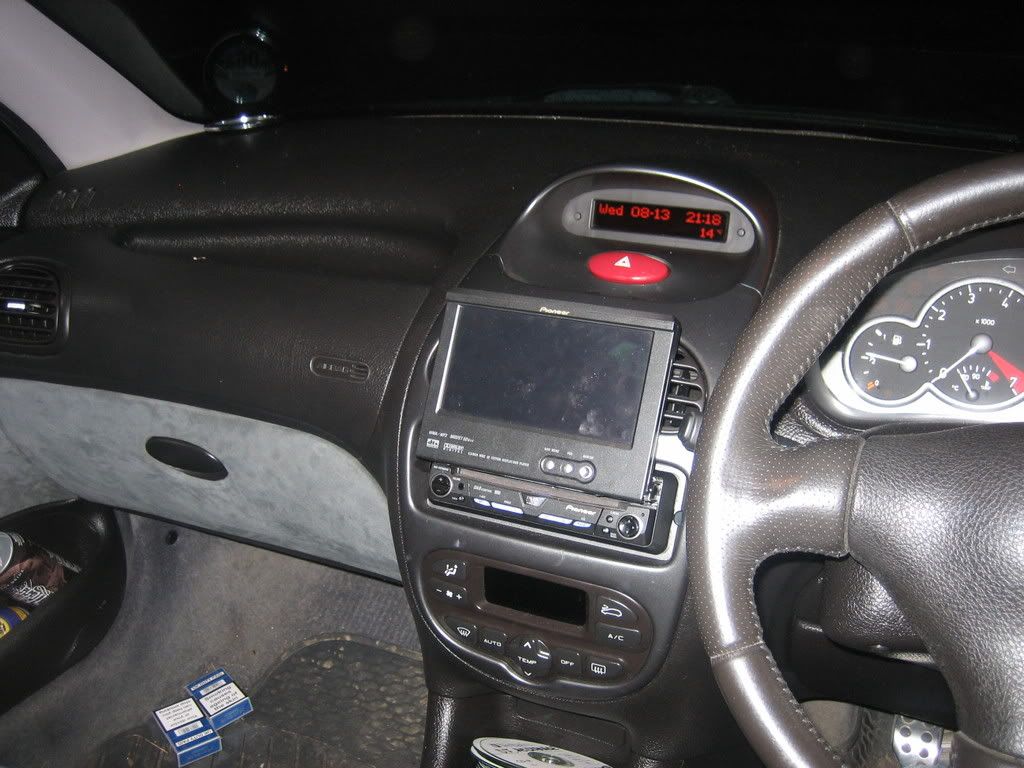
these got sold and changed for a custom fit Pioneer comp set up front, a single 12" Pioneer sub, 400W amp and an Alpine CD/MP3/Bluetooth headunit.
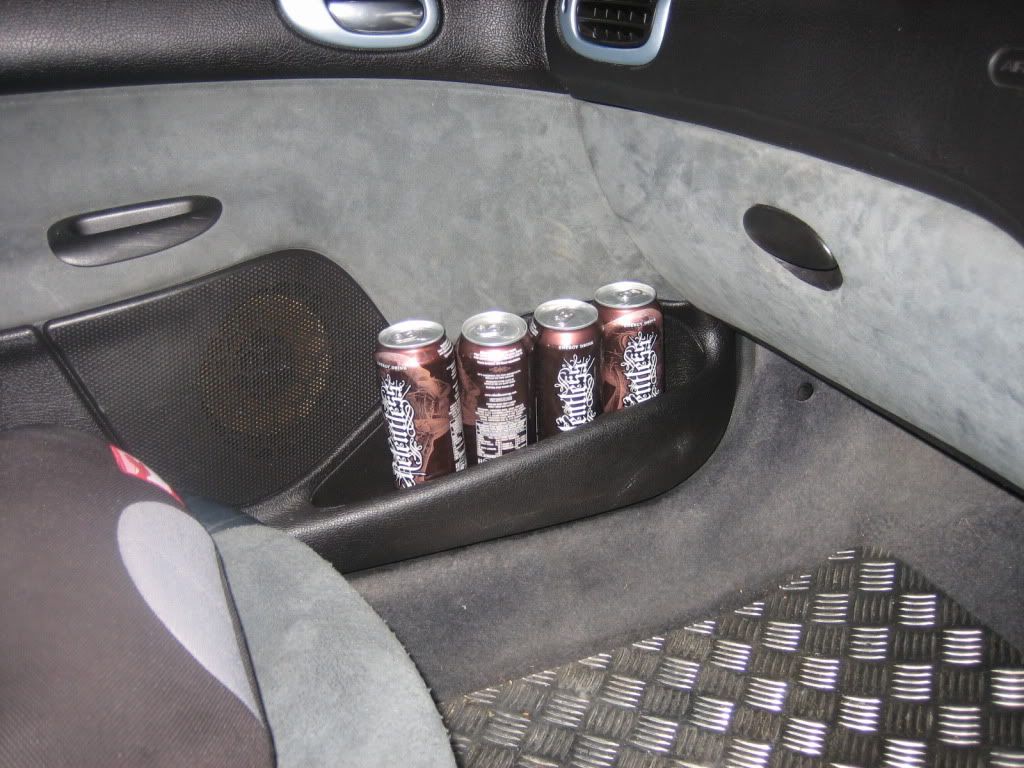
The interior plastics got a make over too. went from moonstone blue, to gloss black, to white before i stopped! lol.
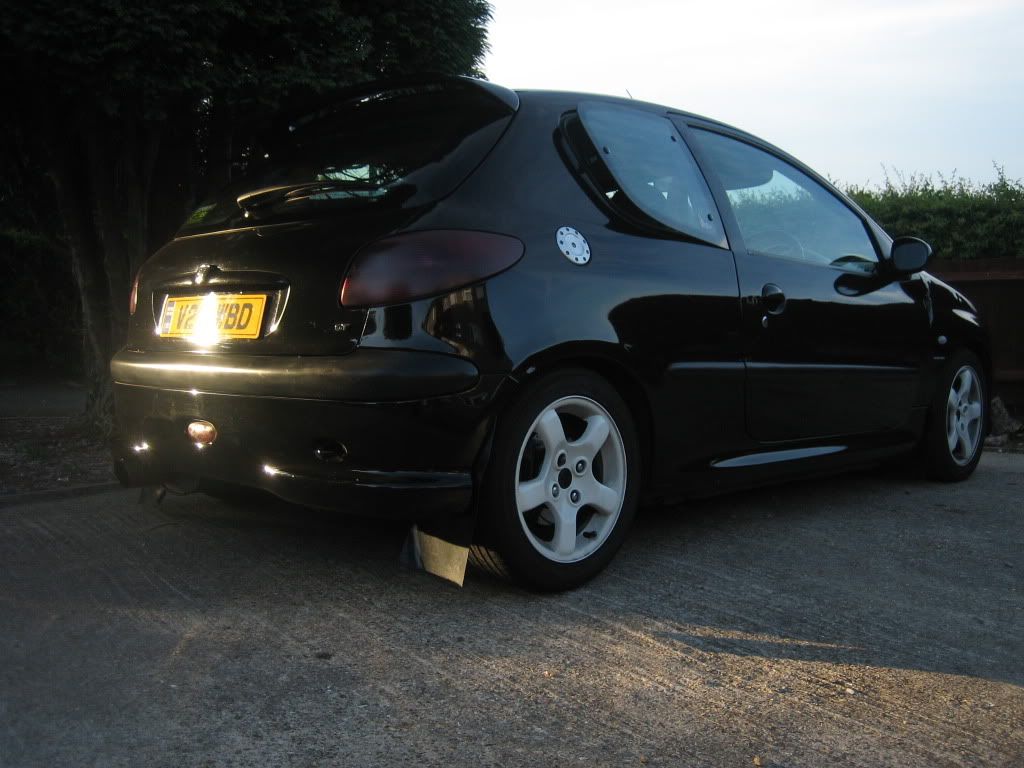
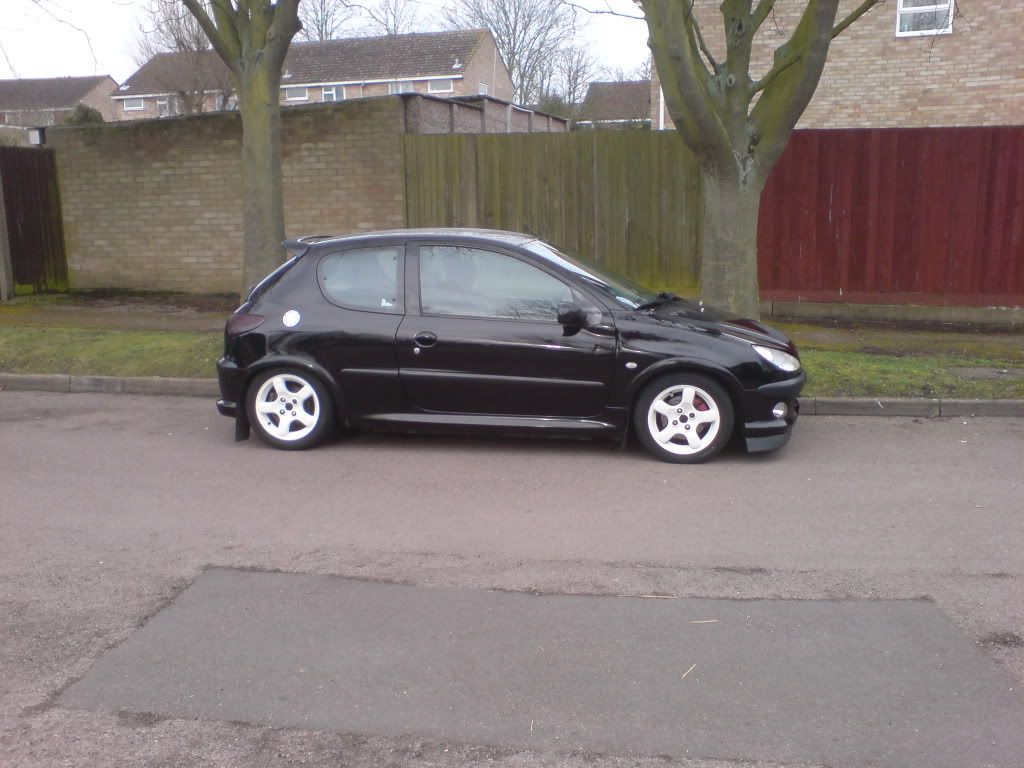
Some small exterior changes were made with the addition of an SP spoiler, SP arches and SP Fuelcap.
Managed to get the alloys sanded down, painted alpine white and back on within a weekend! lol.
smoked rear clusters and got my chequerplate mats
mudflaps
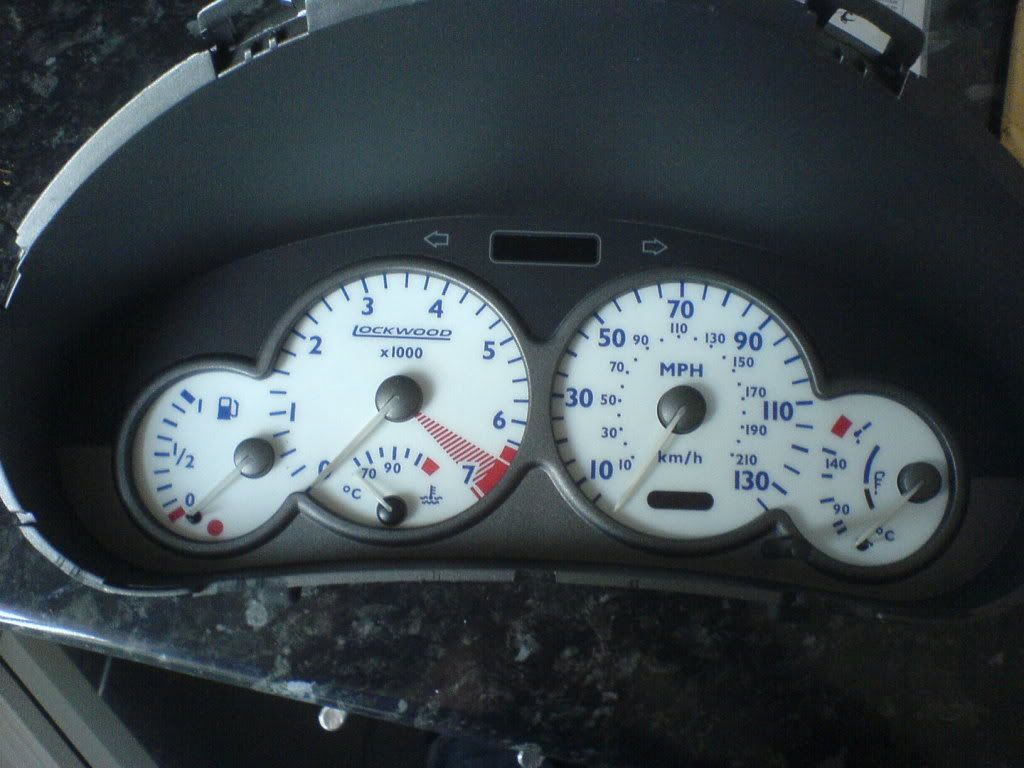
Lockwood white dials
sunstrip and vento vr6 splitter
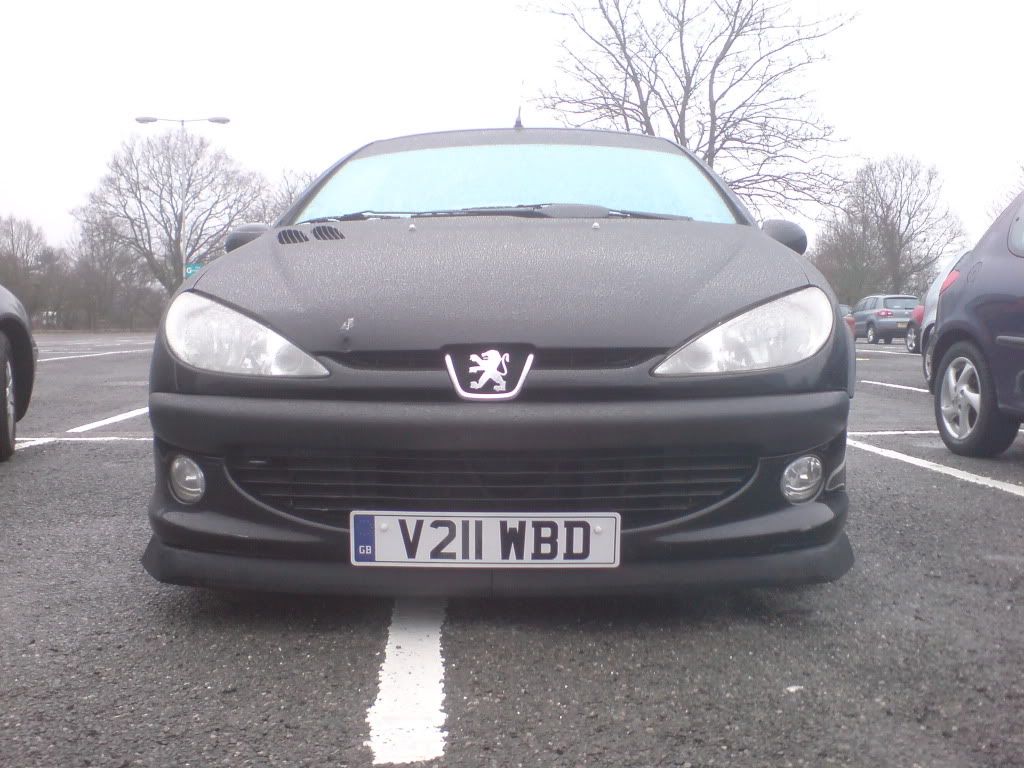
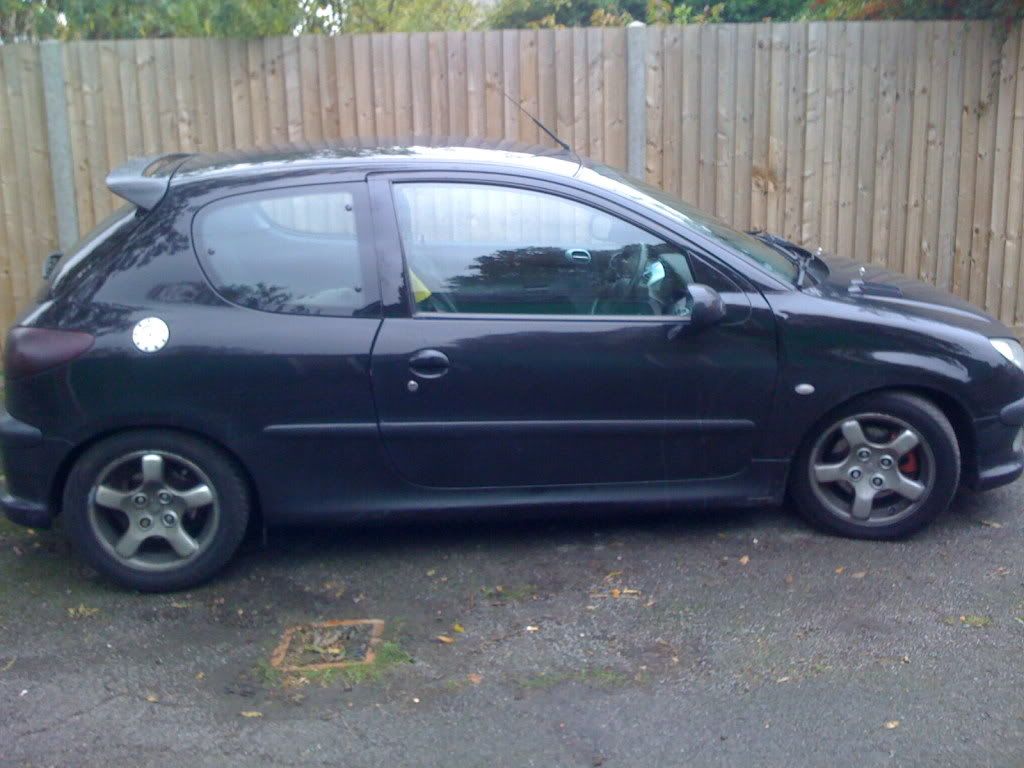
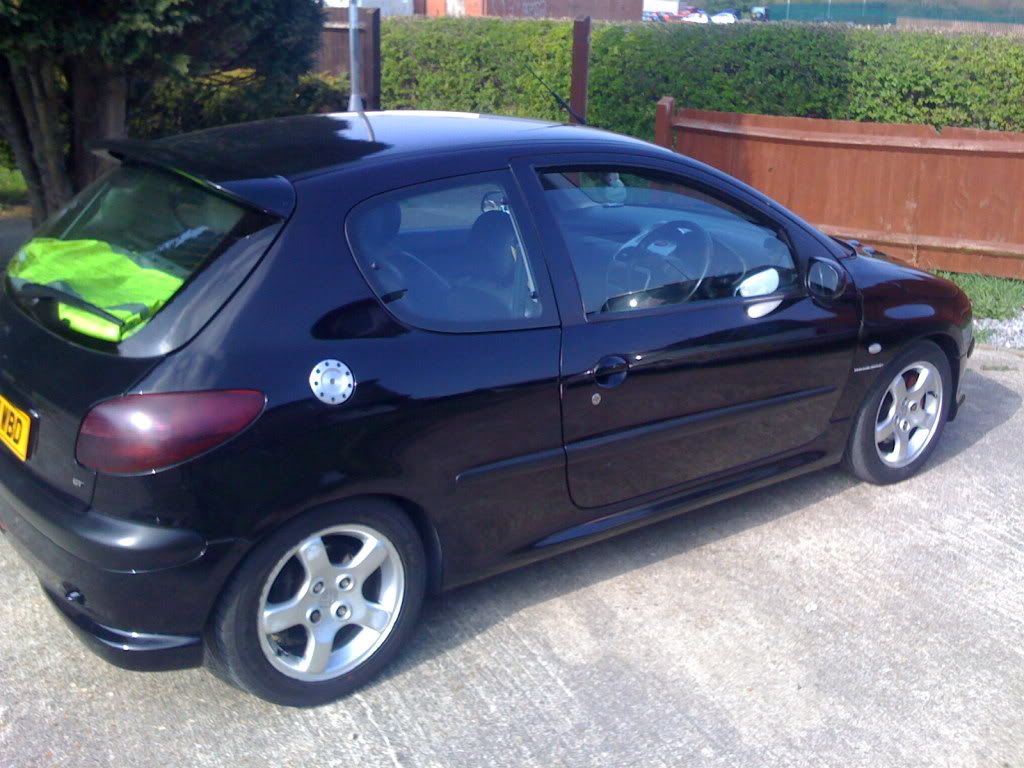
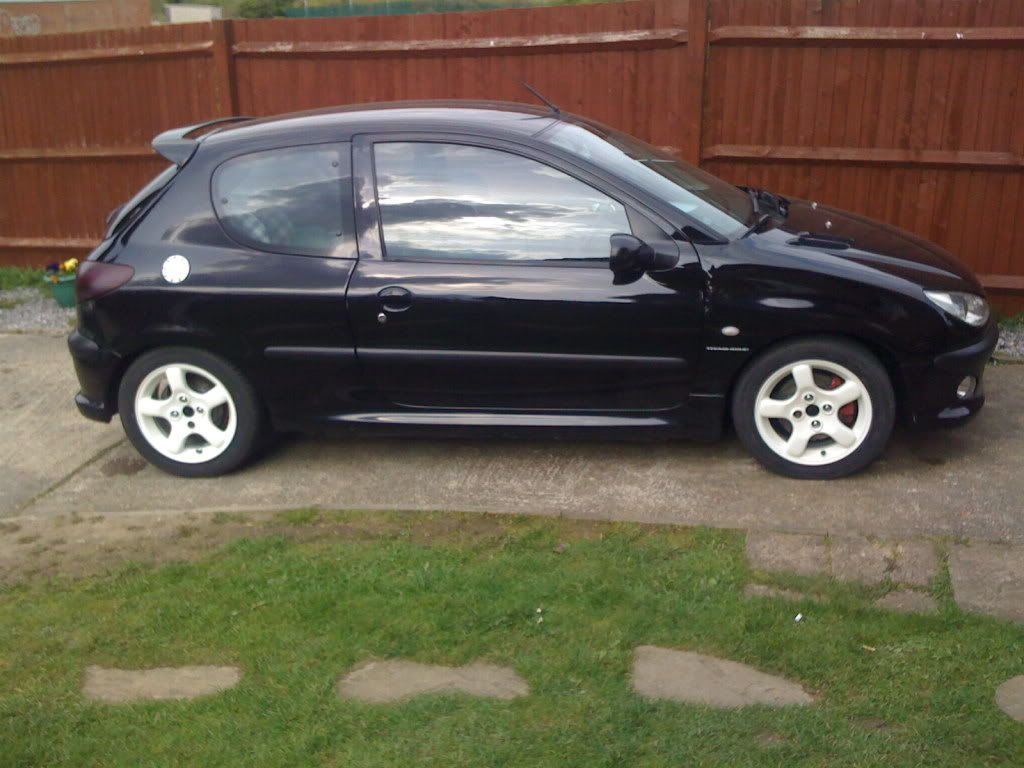
And so, the last time she saw the road, she looked not a million miles from this
to be continued.......
| |  |
|
|
 |
|
|
|
|
|
|
Posted: Sun Sep 25, 2011 11:37 am |
|
|
|
|
Joined: Sep 24, 2011
Posts: 67
Trade Rating: 0
Location: swansea
|
|
looking tidy mate not a fan of the mud flaps tho
| | |
|
|
|
|
|
|
|
|
|
|
Posted: Sun Sep 25, 2011 11:38 am |
|
|
|
|
Joined: Feb 08, 2010
Posts: 960
Trade Rating: +11
Location: Hertfordshire
|
|
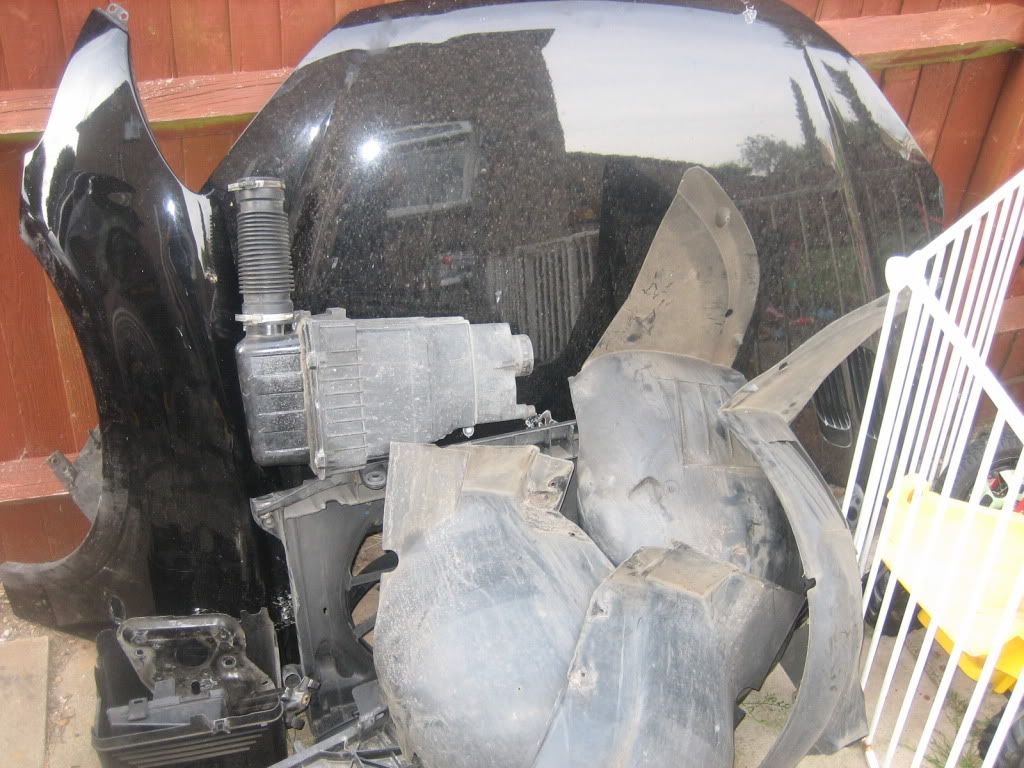
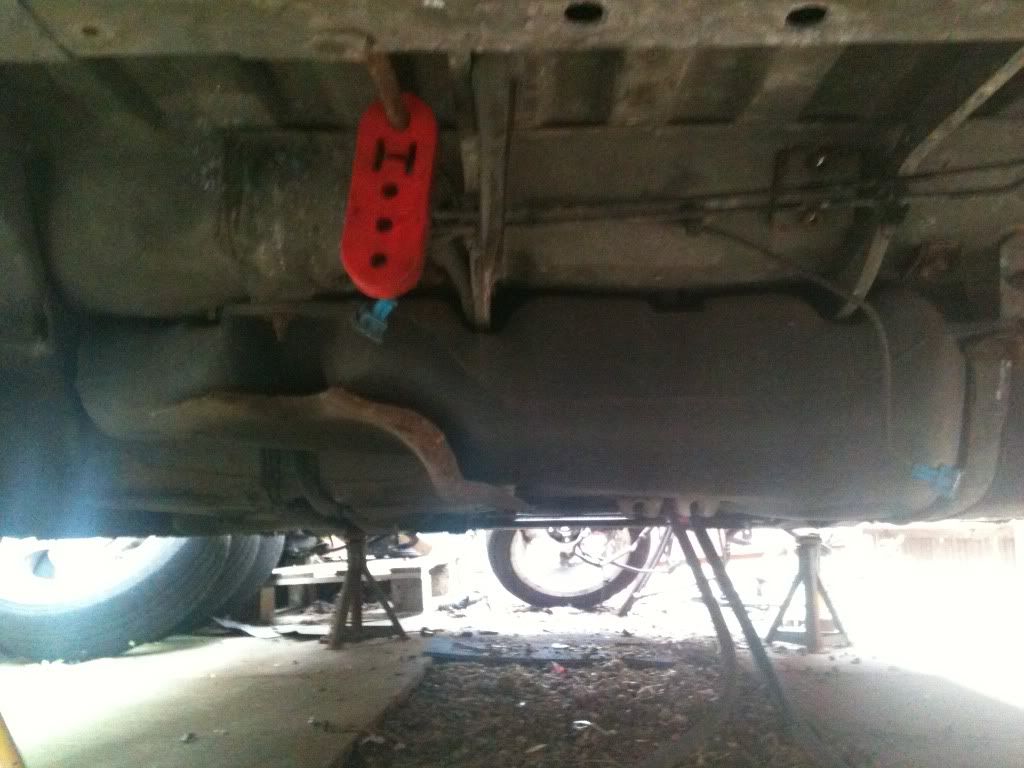
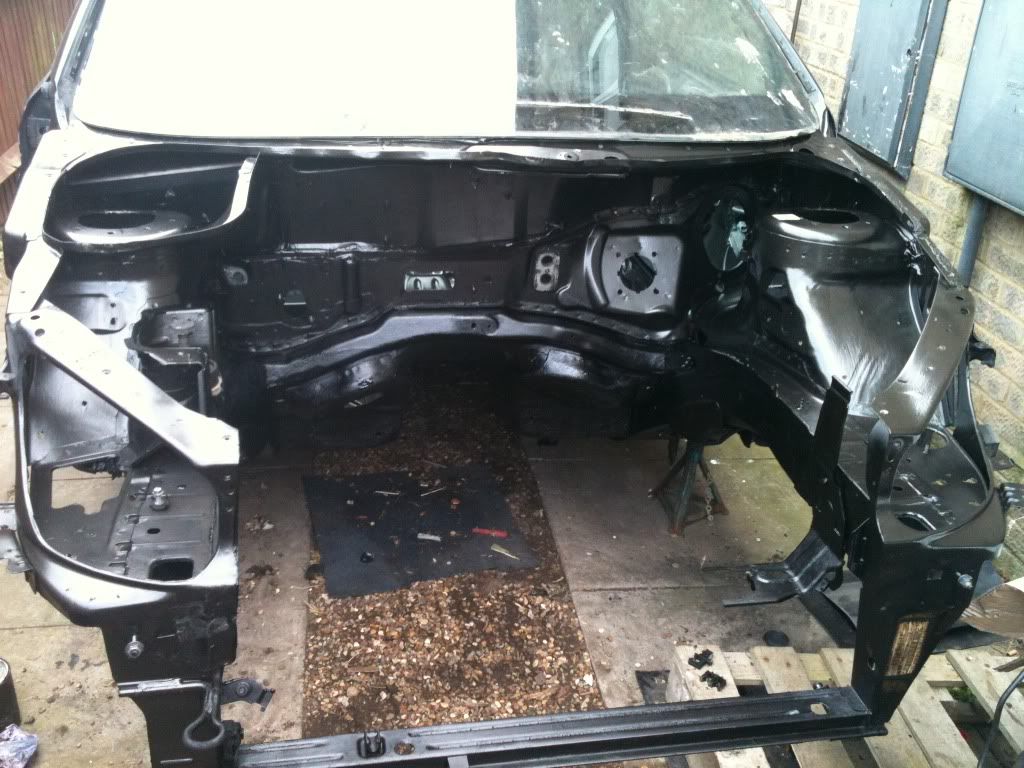
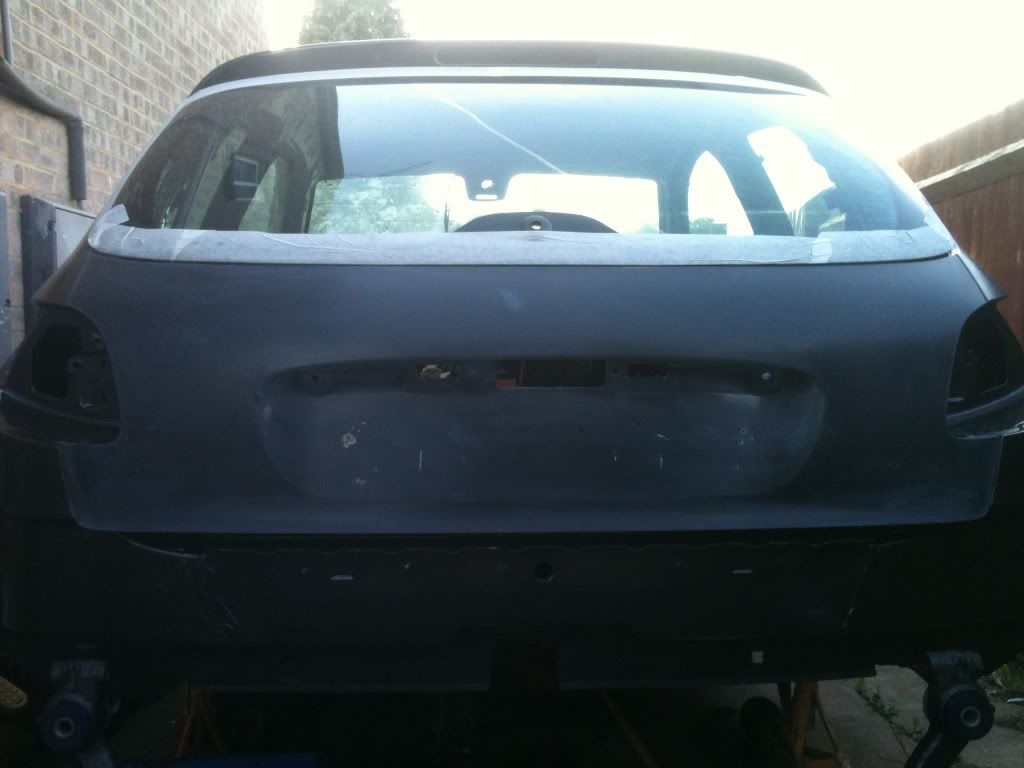
ok, so as of June 2010 i had her SORN'd. then proceeded to do this
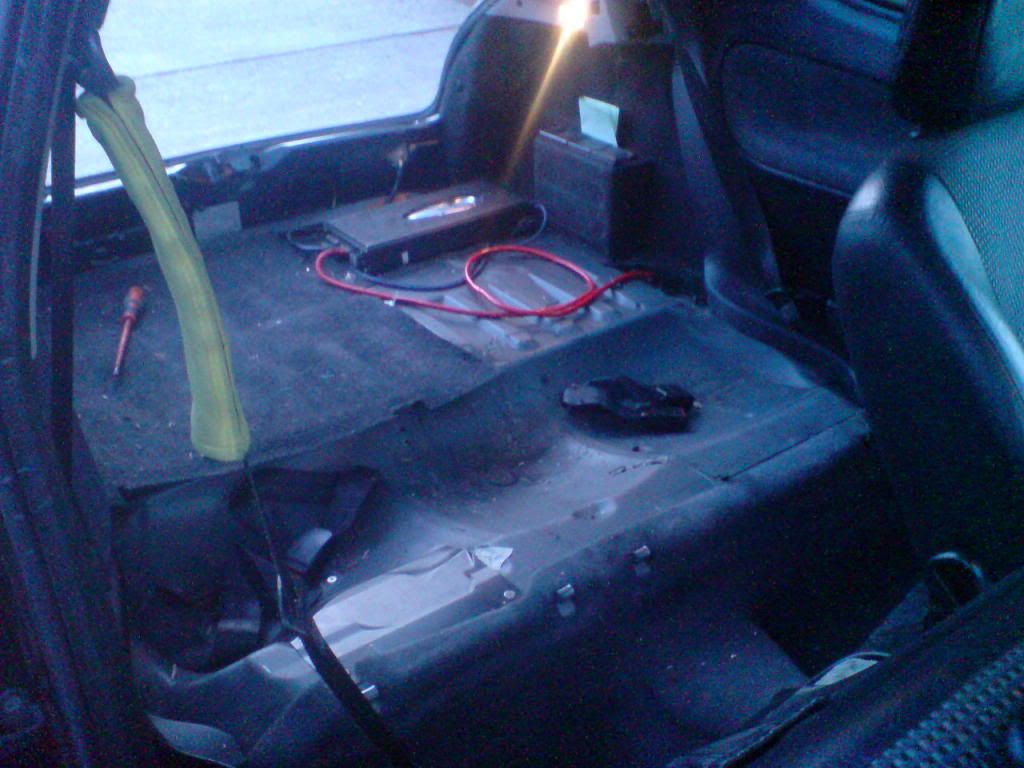
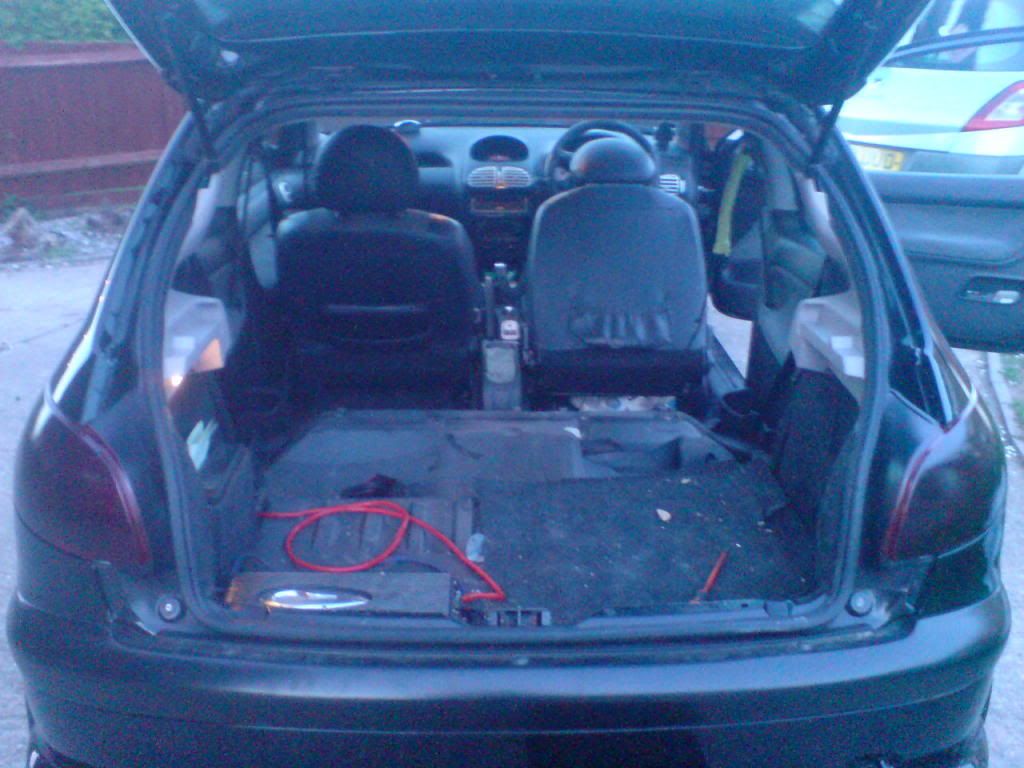
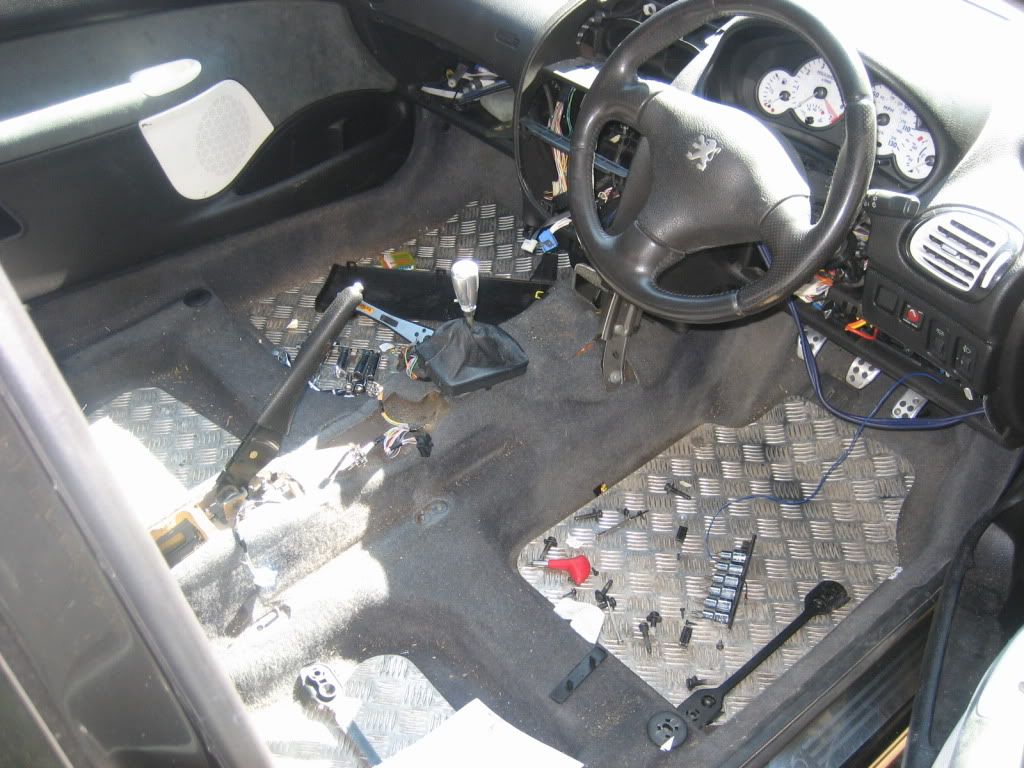
thats how she stayed for the winter. and when things started to warm up a little, me and a mate (who is now sharing the driving responsiblilties! lol )got to work.

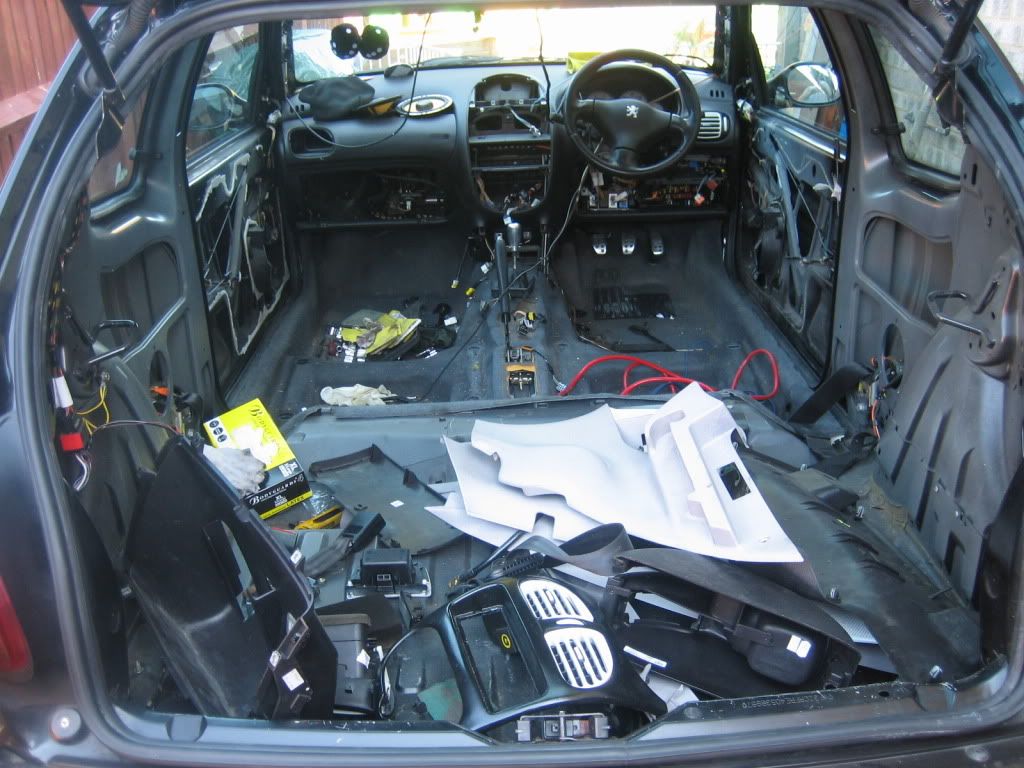
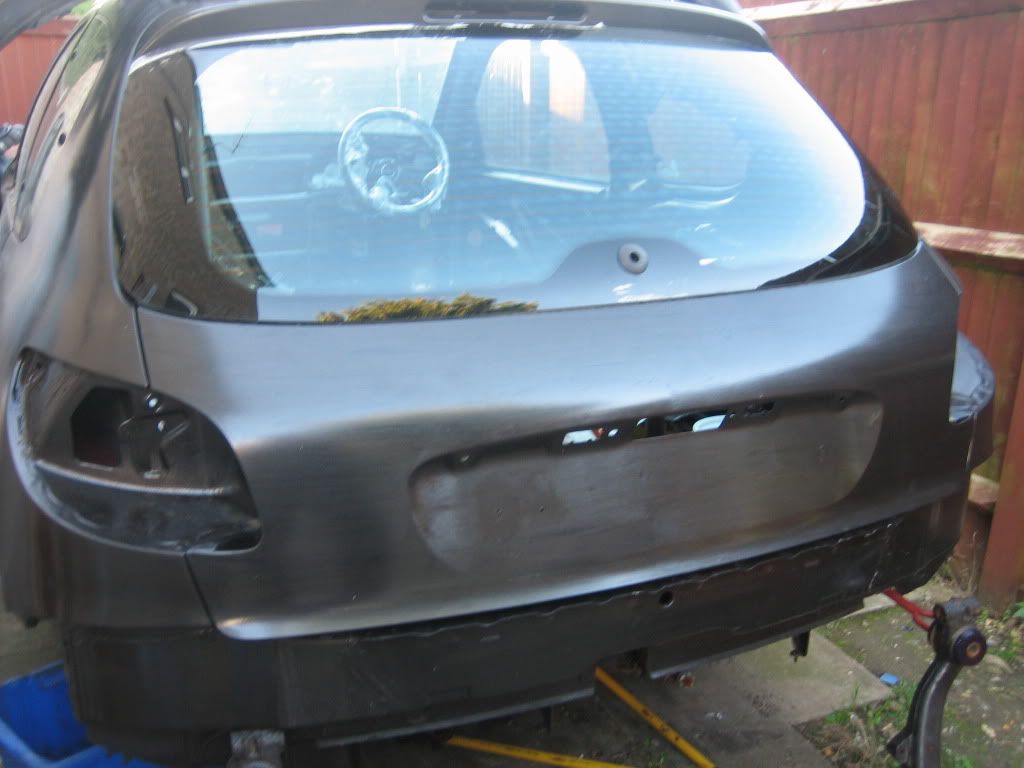
Little while later i had a few days off work for the purpose of
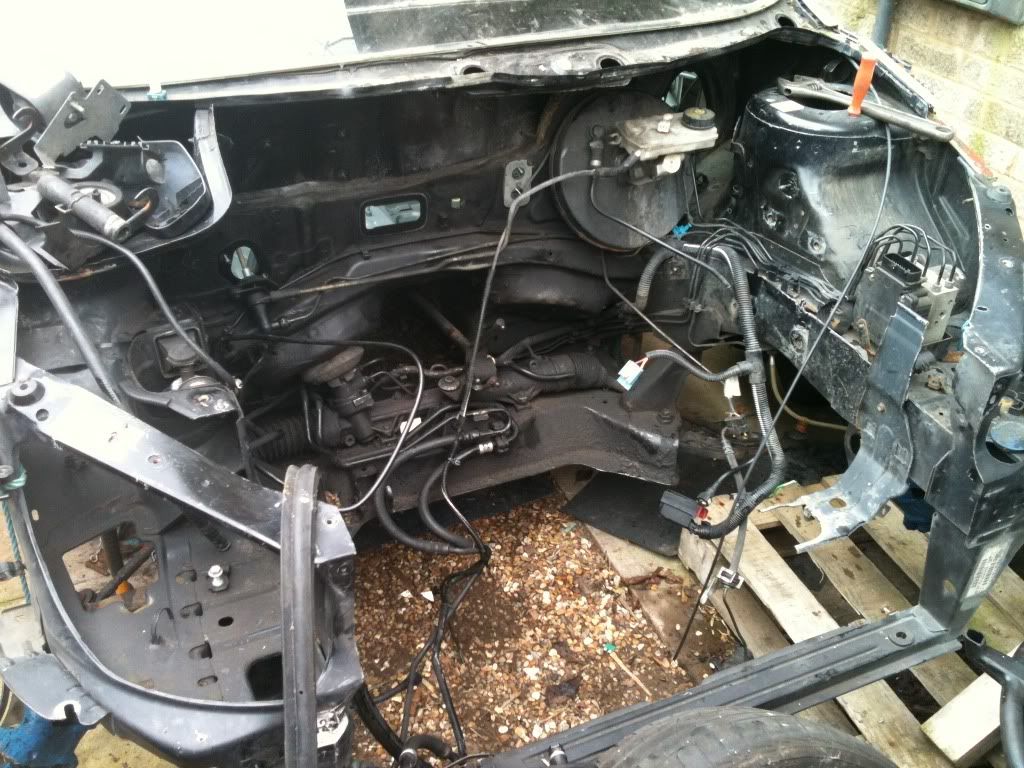
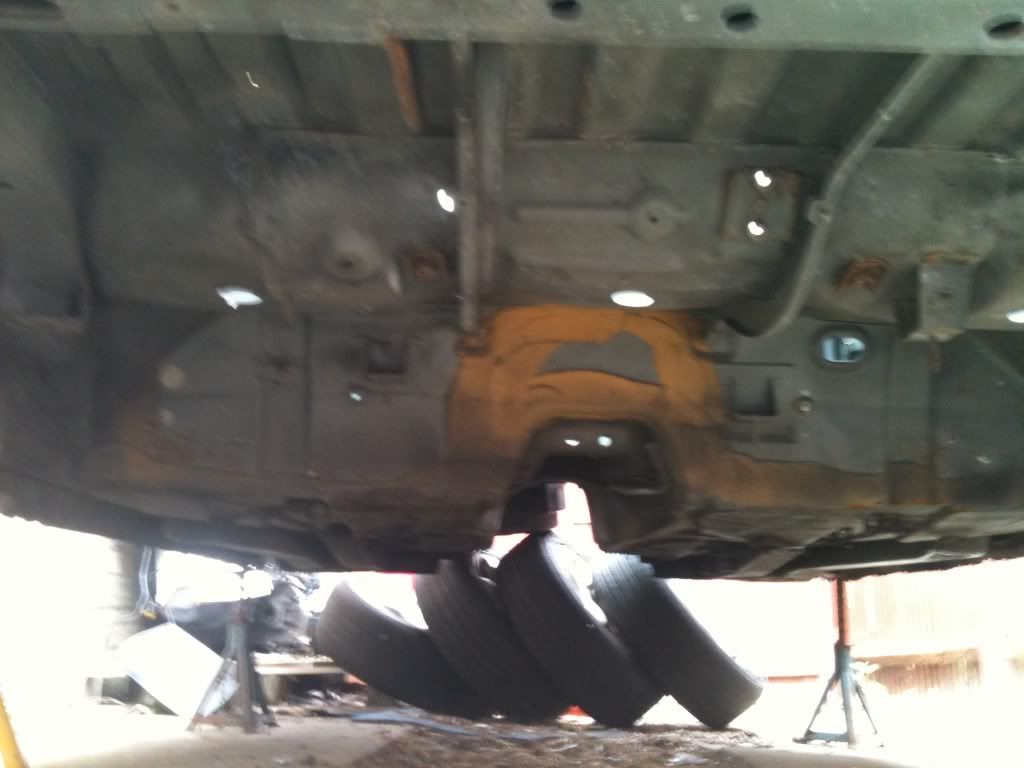
and got it to this stage...
to be continued....
| | |
|
|
|
|
|
|
|
|
|
|
Posted: Sun Sep 25, 2011 11:59 am |
|
|
|
|
Joined: Feb 08, 2010
Posts: 960
Trade Rating: +11
Location: Hertfordshire
|
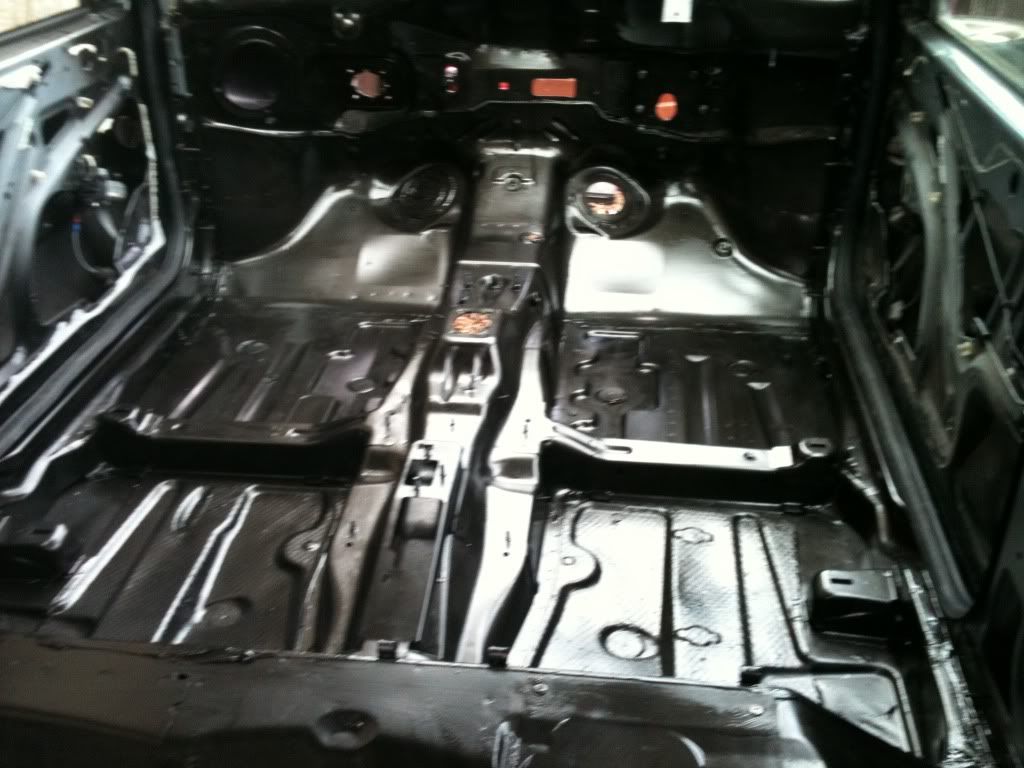
|
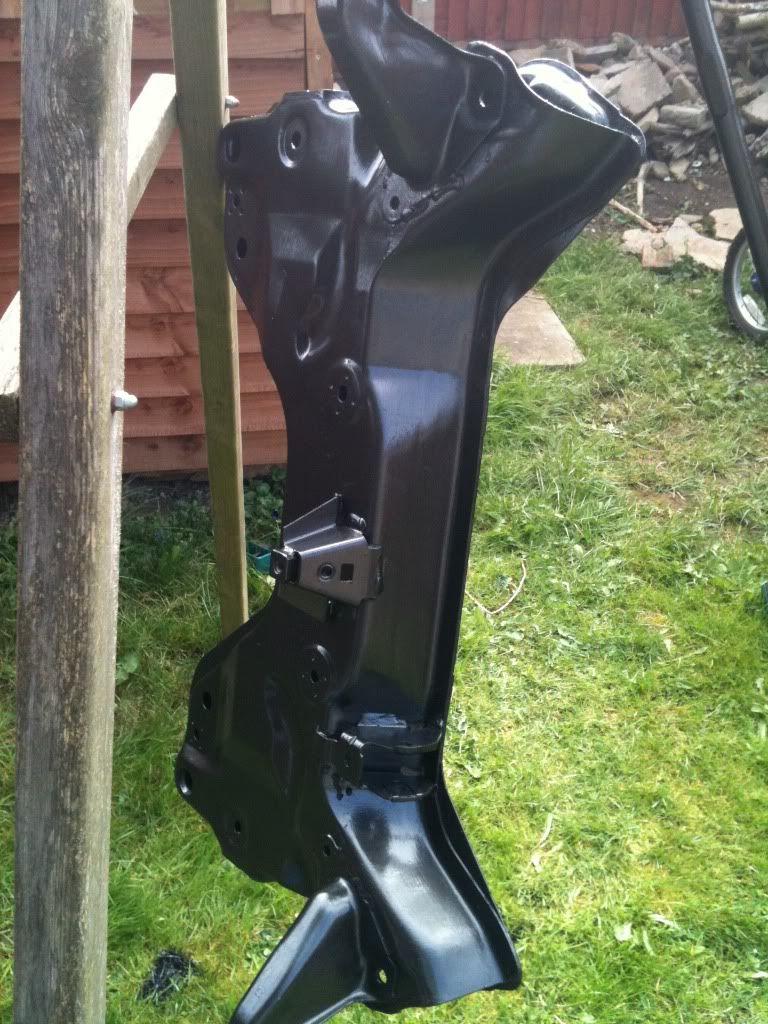
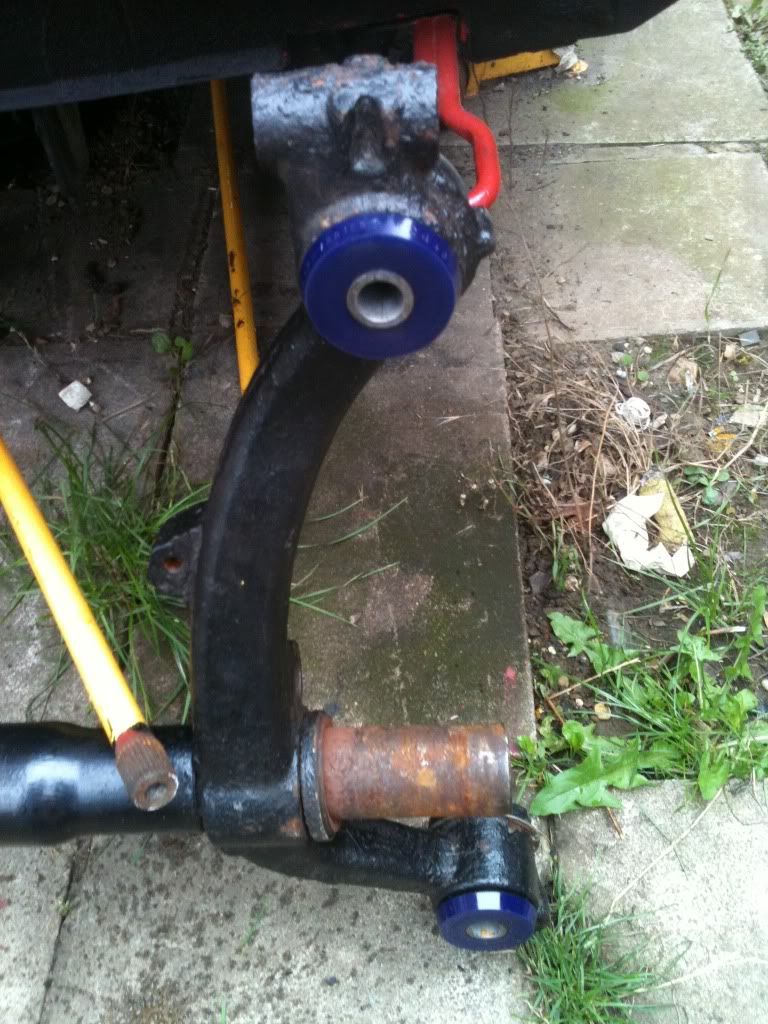
After the shenanigans of painting and undersealing, we set about replacing the old crappy rubber suspension bushes with some nice tight poly bushes.
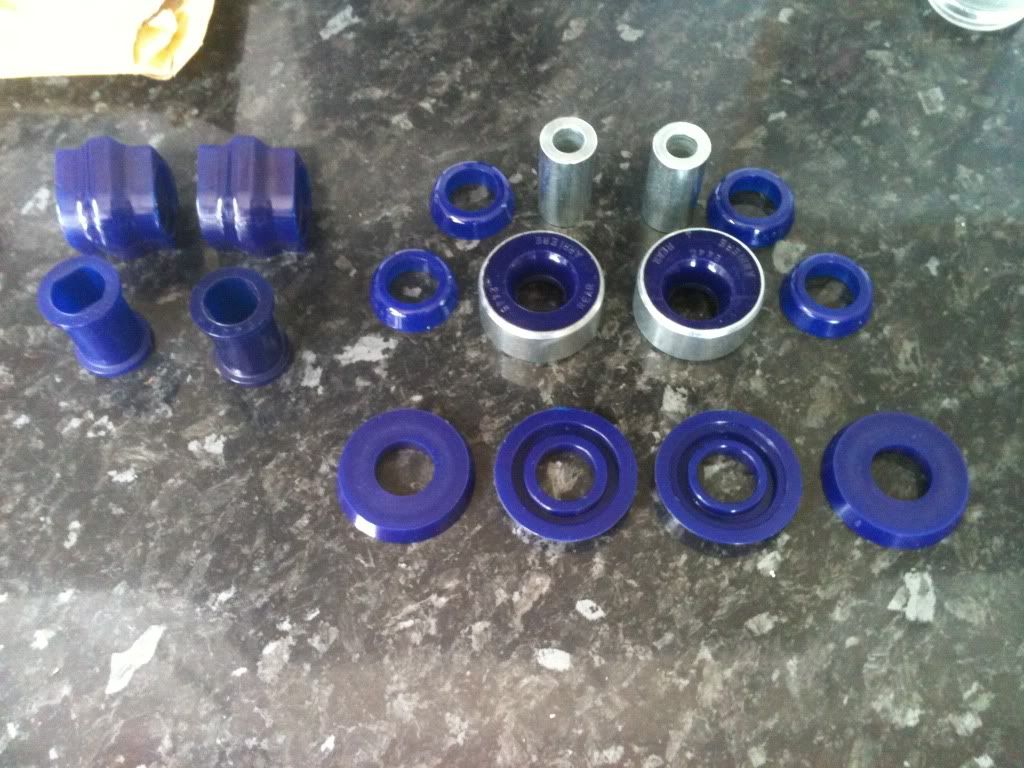
This proved a tad more difficult than we first thought. We had a nightmare finding someone that did all the ones we needed (ironically Superflex and Powerflex both do kits now!)
Anyway, we ran with SuperPro. We have there lower arm (single offset) bushes, front Anti Roll Bar bushes and rear lateral beam supplement washers which stiffen up the OE mount bushes.
no problems with the ARB and lower arm bushes. and i know my mate (from here on known as Oggy) had fun with the press! lol
So we rebuilt the front end, withthe already painted subframe, ARB, lower arms and a nice clean steering rack!
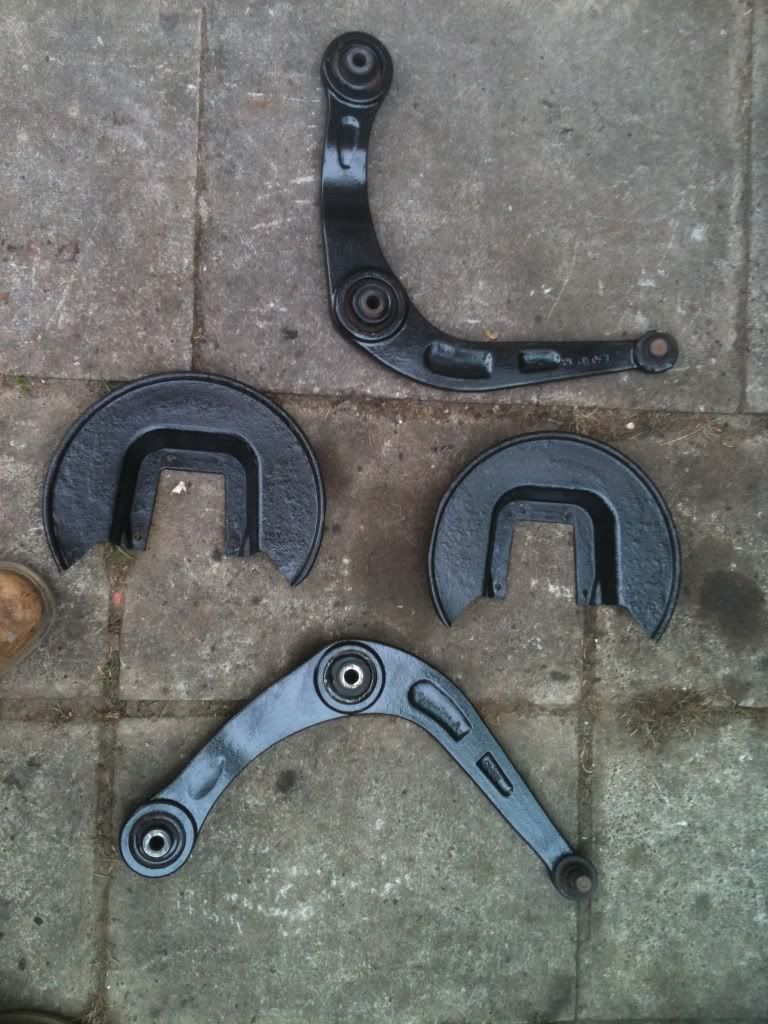
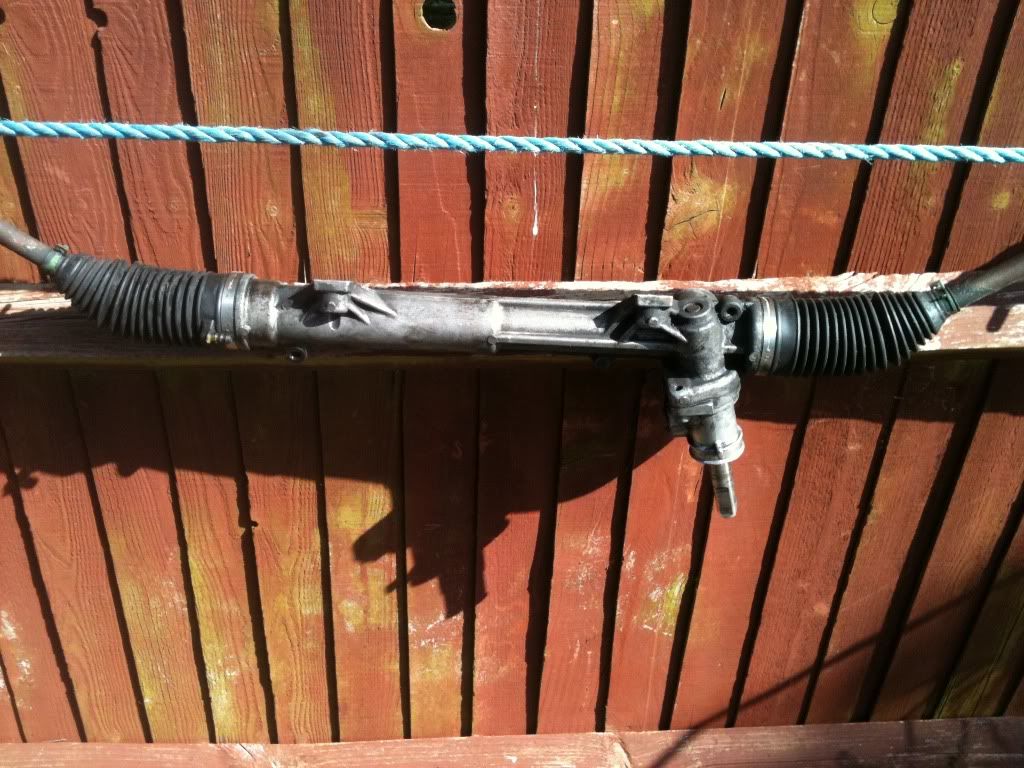
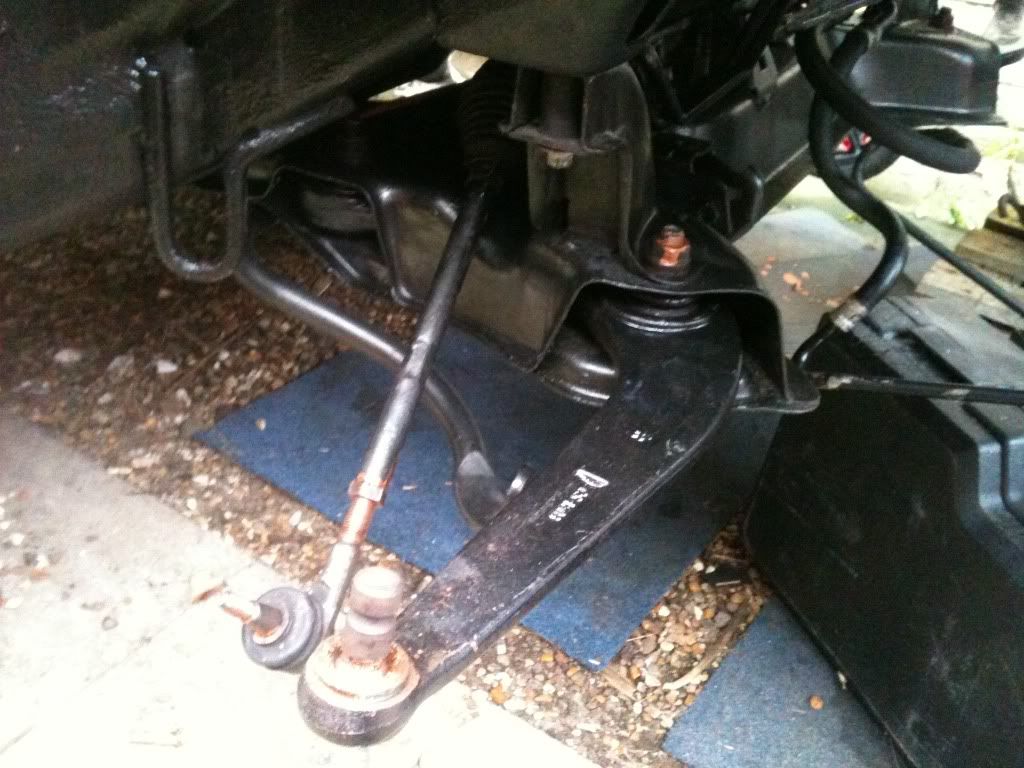
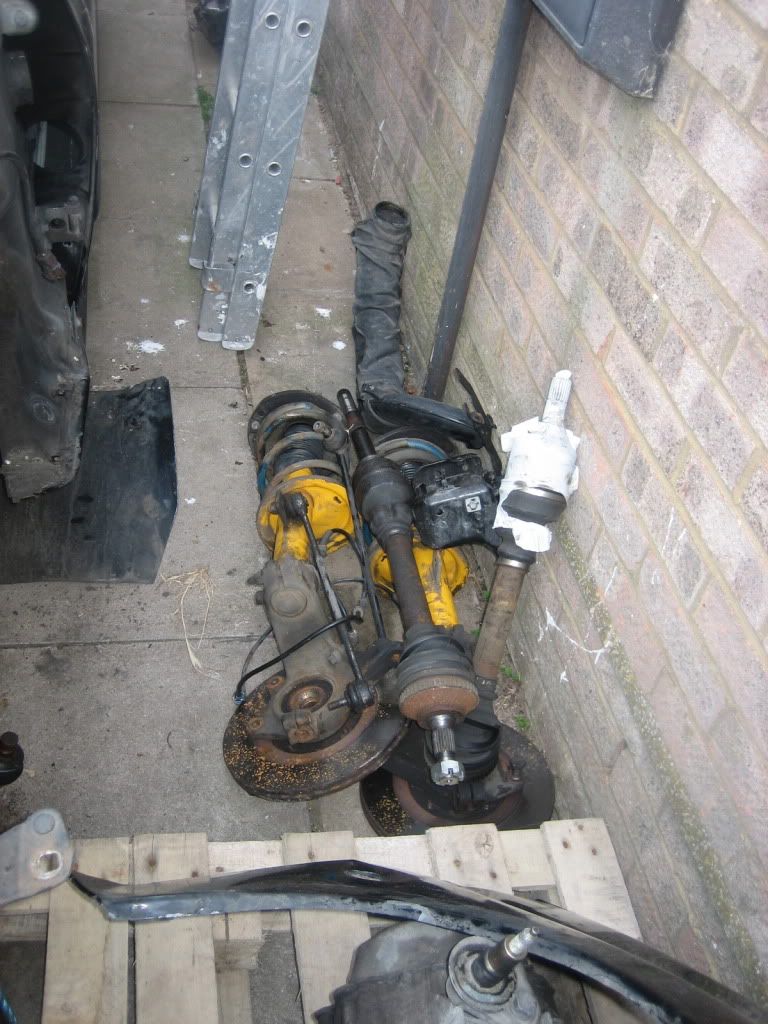
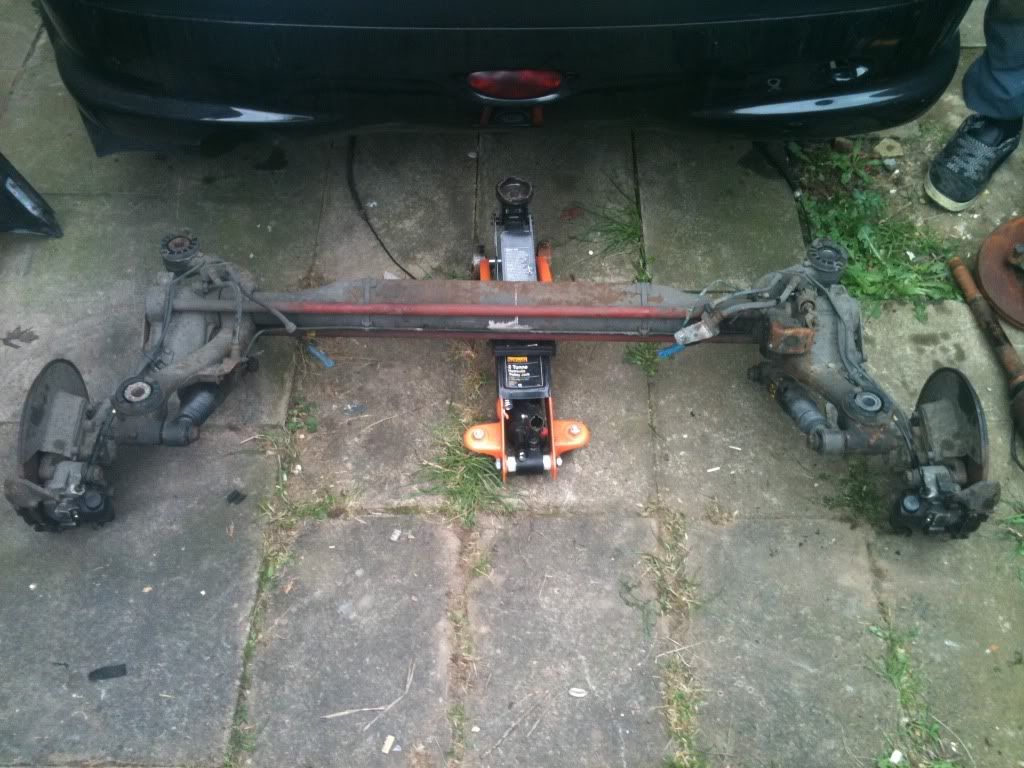
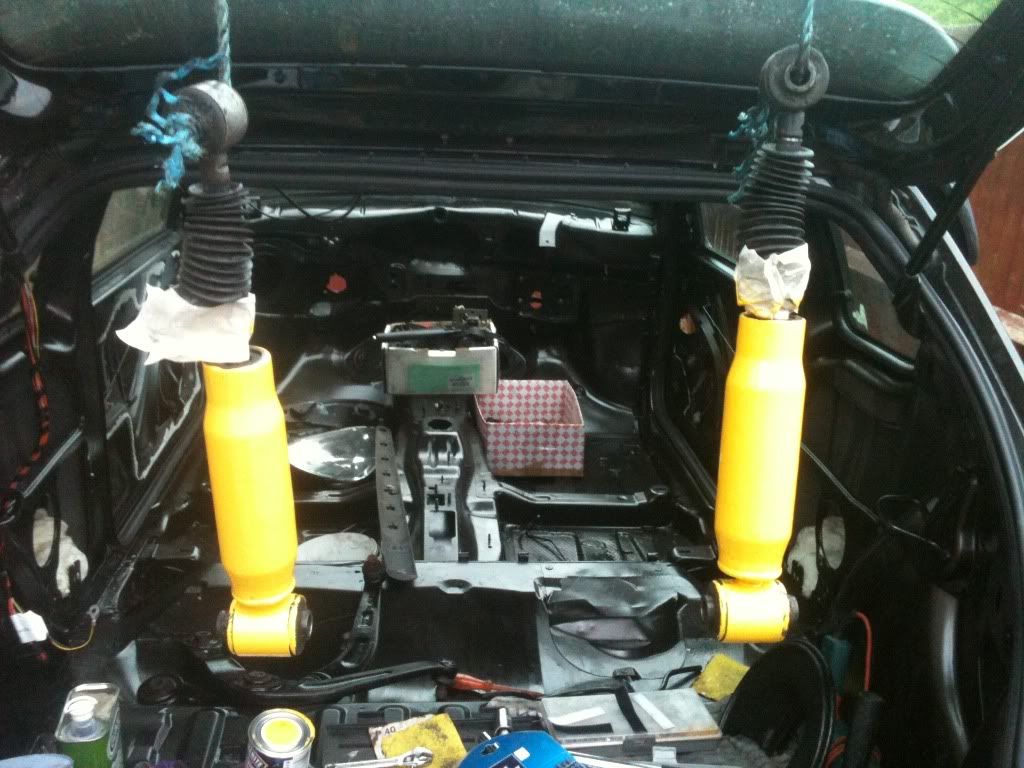
Rear beam however is a different story!
we did manage to get it like this
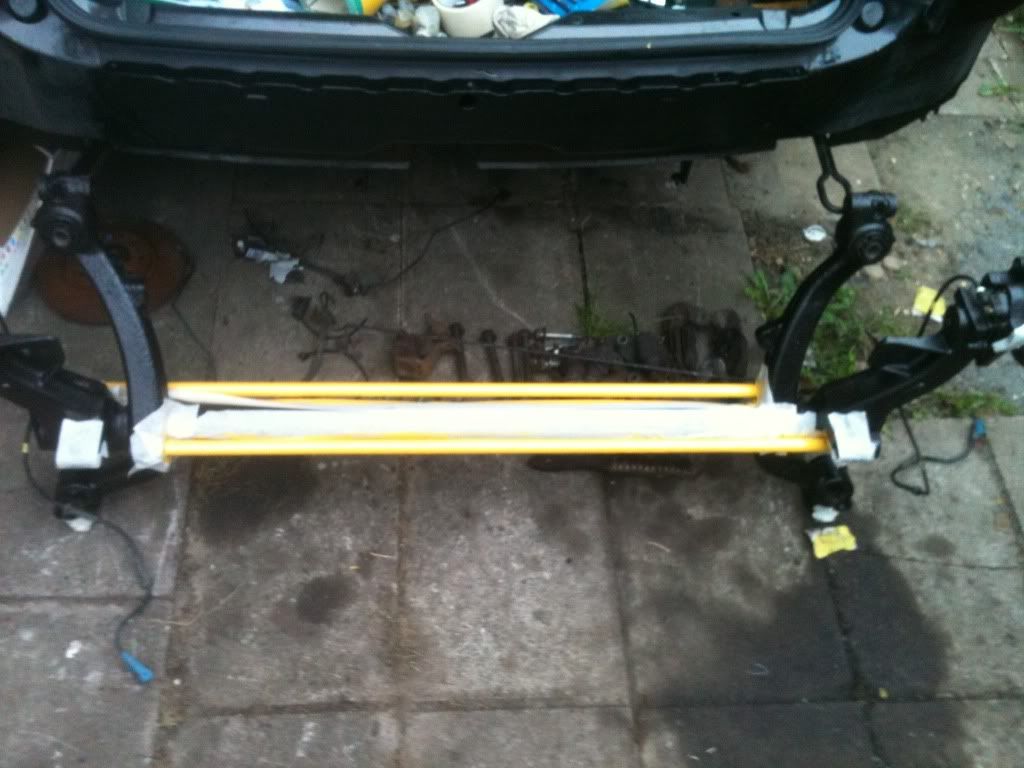
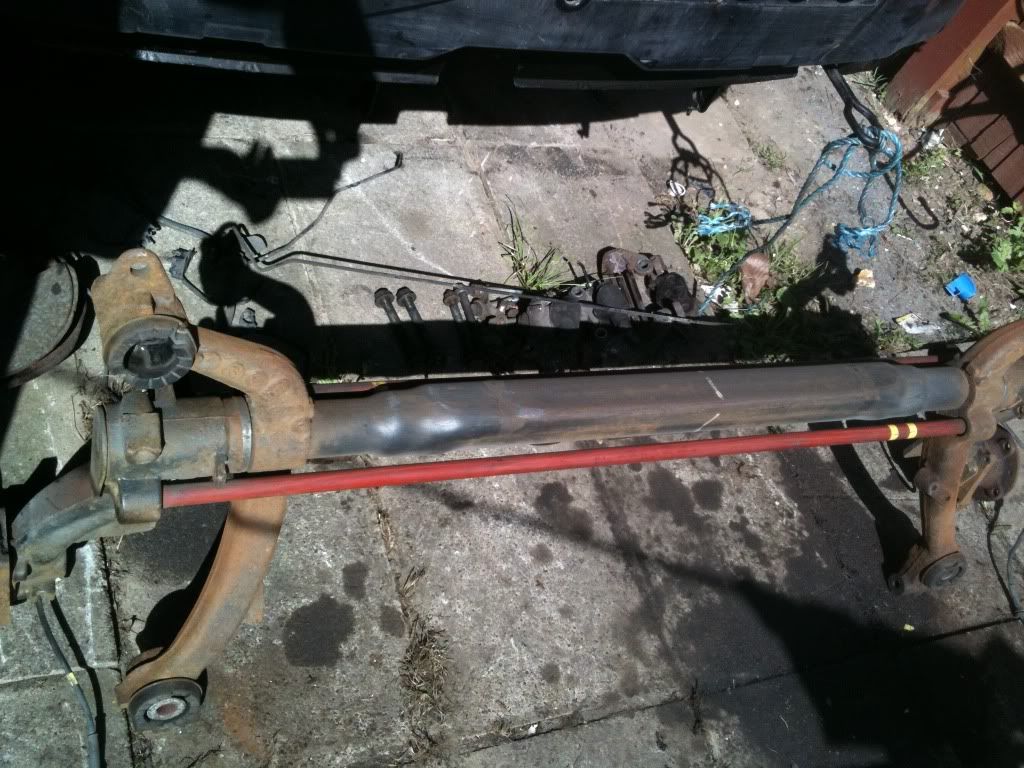
Before having to take it apart after stupidly trying to remove the OE bushes ourselves!. so that getting the arms off, removing the torsion bars, which was a pig as we sheered a torx headed bolt! (opps). Once it was apart we found knackered needle roller bearings which still need to be replaced. Also when replaced it was found that the old OE mount bushes had pretty much rusted away inside with a big hole in one of them. That said, Oggy had more fun with the press and it looks like this now.
we still need to refit the arms and bars etc but as far as bushes go its sorted! lol
To be continued....
| | |
|
|
|
|
|
|
|
|
|
|
Posted: Sun Sep 25, 2011 12:02 pm |
|
|
|
|
Joined: Feb 08, 2010
Posts: 960
Trade Rating: +11
Location: Hertfordshire
|
|
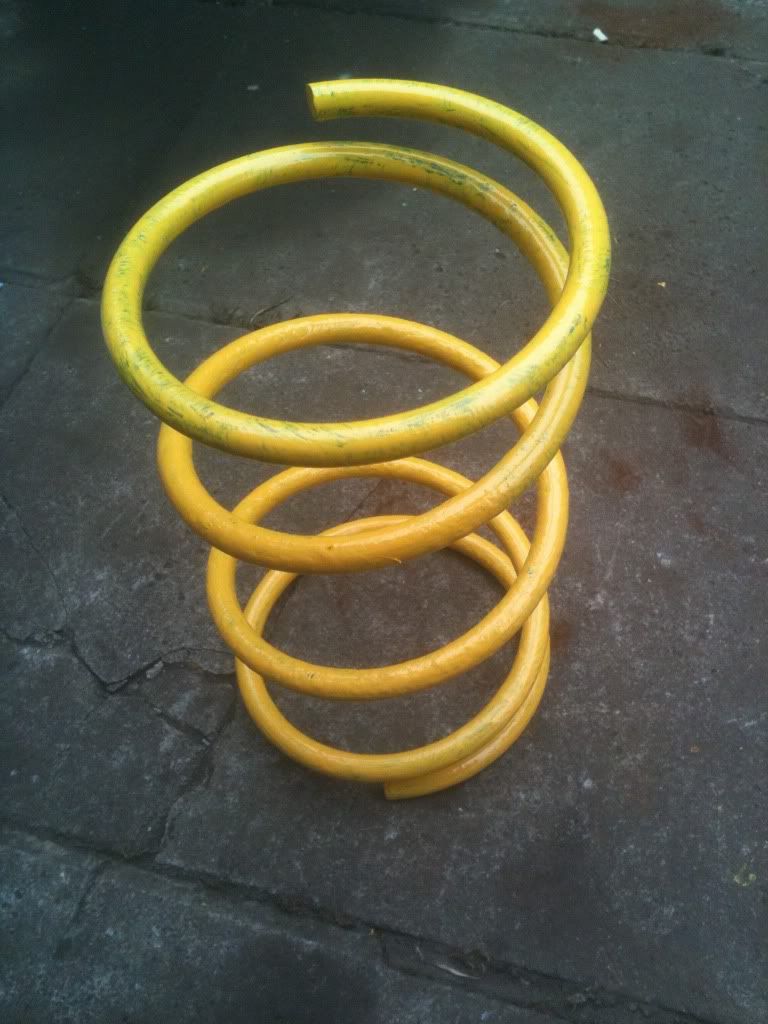
I painted up a plethora of other parts
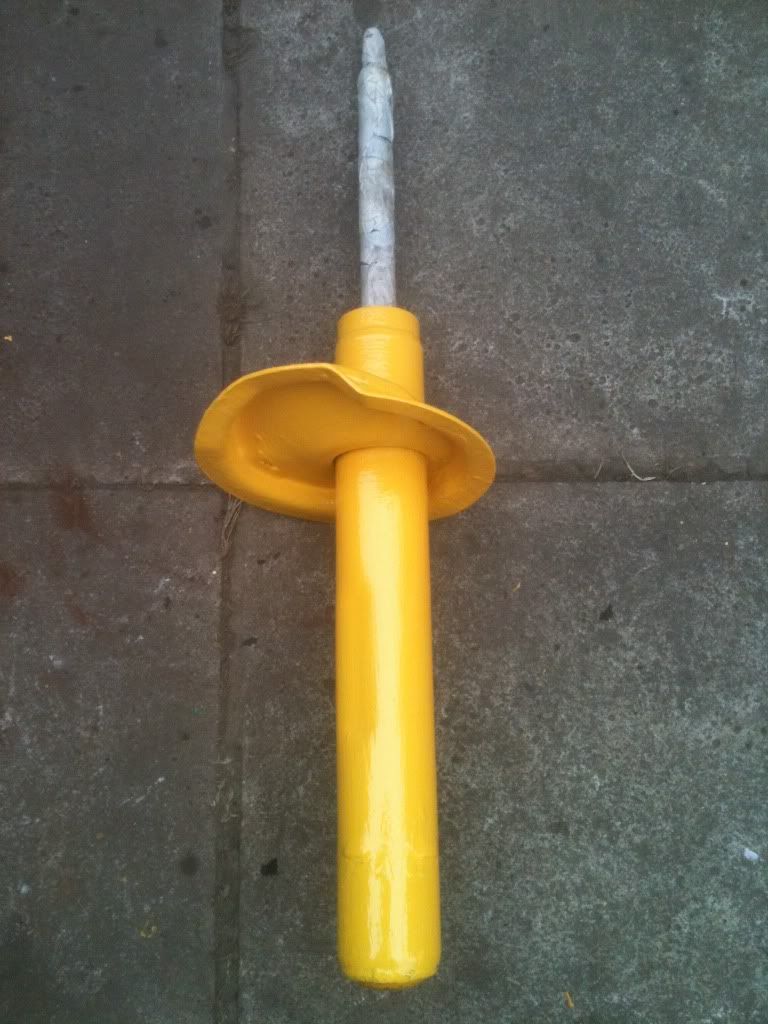
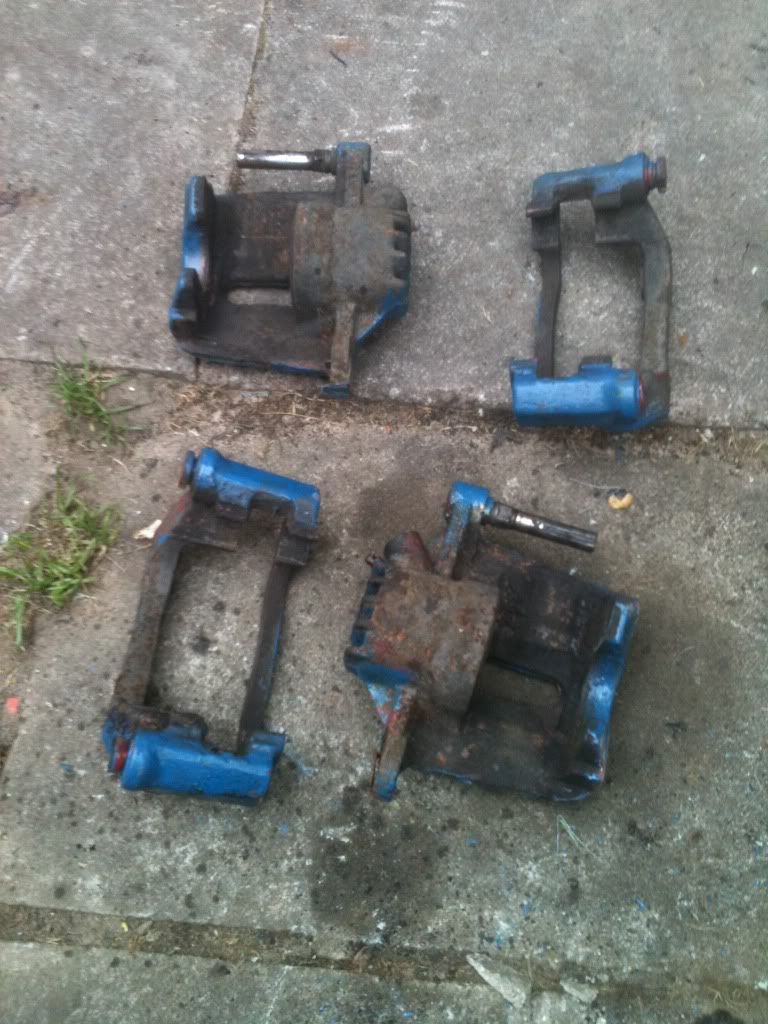
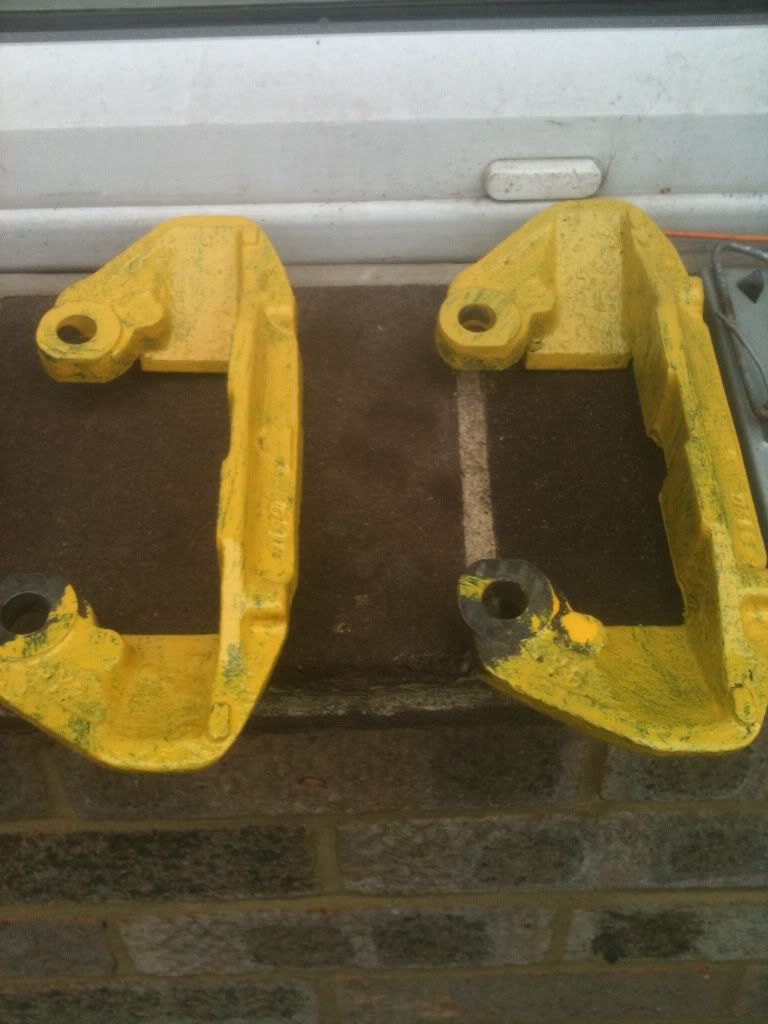
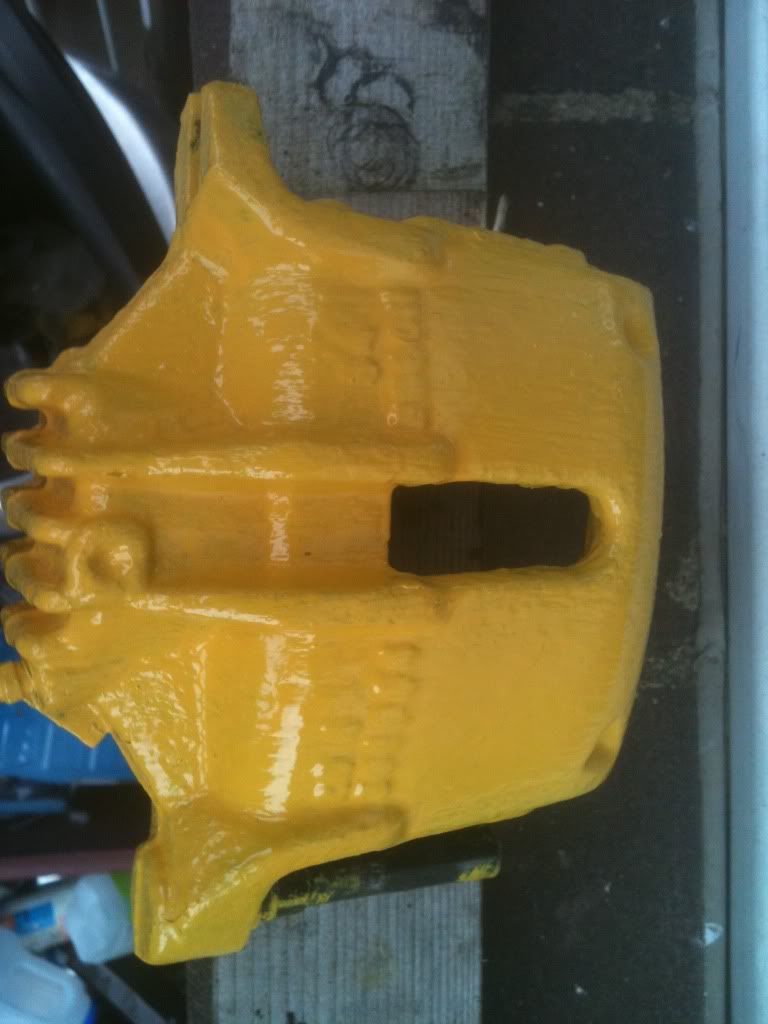
the calipers are going in to be sand/bead blasted as there is too much previous paint on them and the paint job looks like s**t because of it
I got bored waiting for parts and generally wanted something to do so...
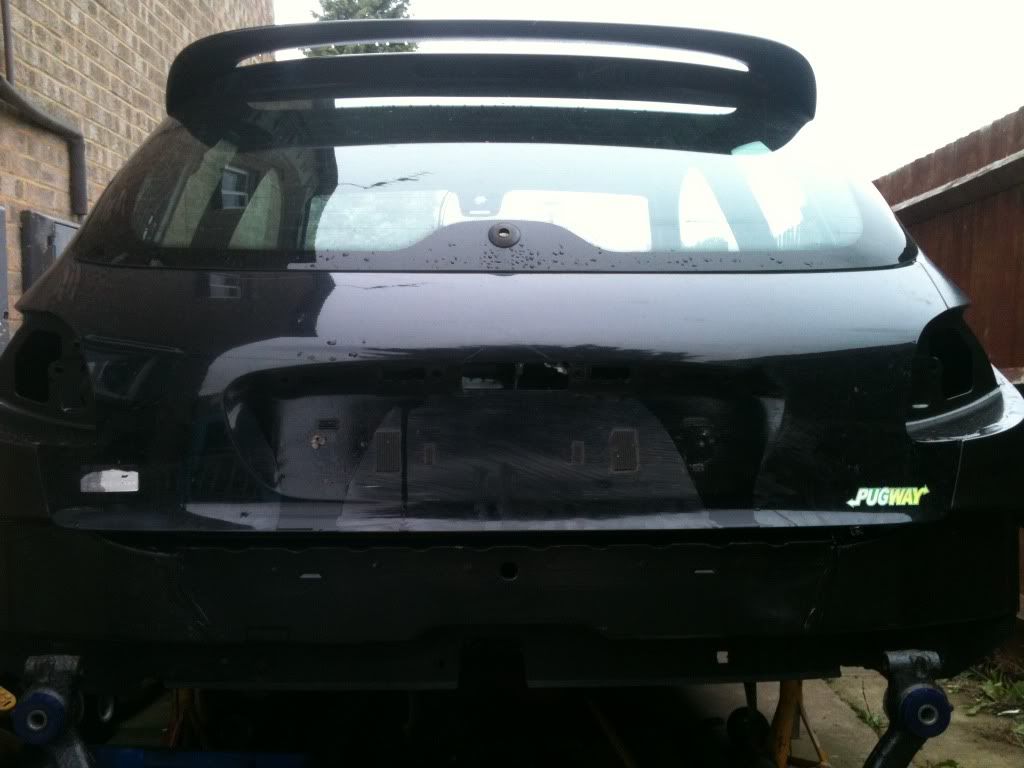
to this

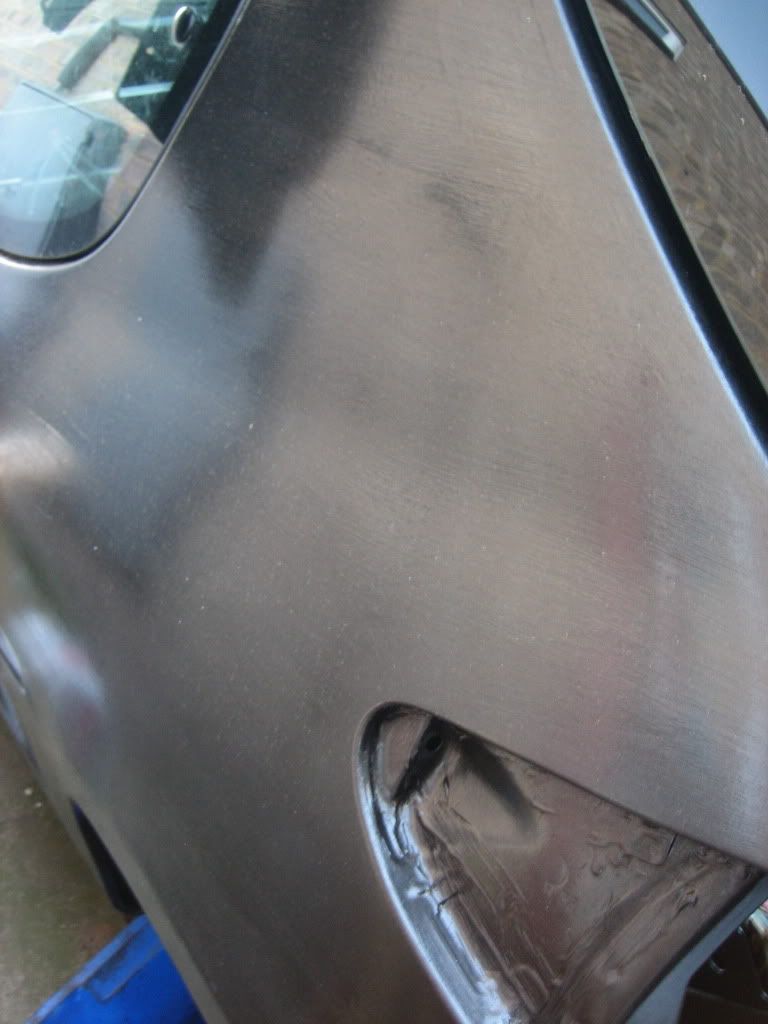
To be continued...
| | |
|
|
|
|
|
|
|
|
|
|
Posted: Sun Sep 25, 2011 12:03 pm |
|
|
|
|
Joined: Feb 08, 2010
Posts: 960
Trade Rating: +11
Location: Hertfordshire
|
|
And to bring the project upto date...
after getting the parts i was waiting for
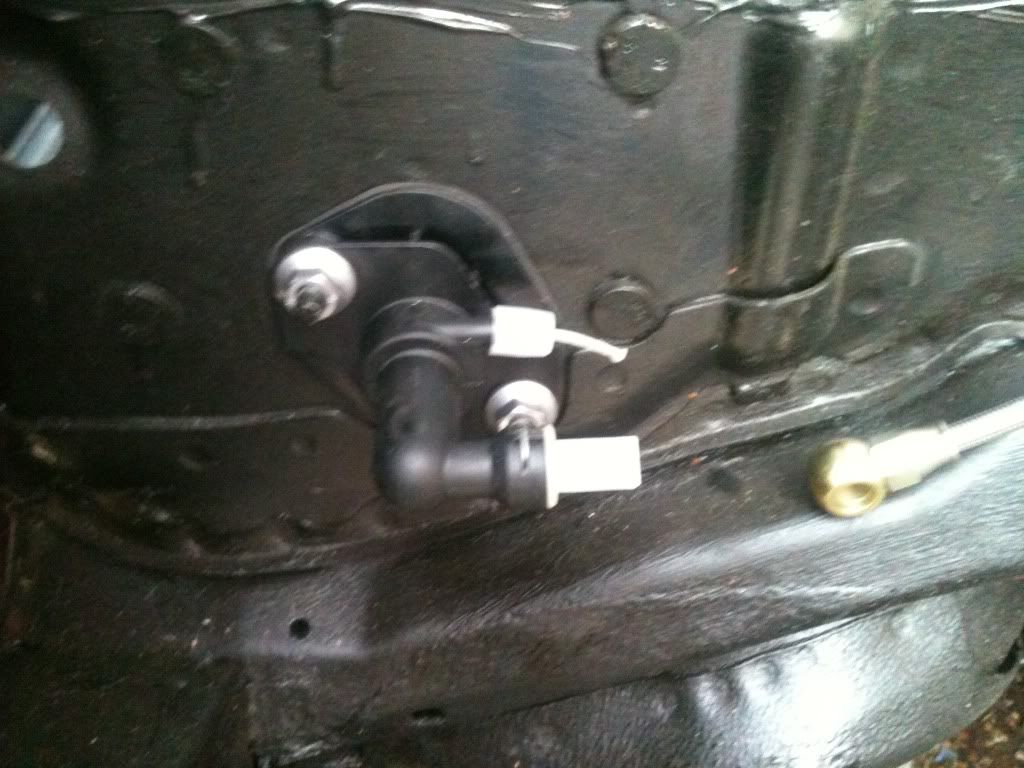
two wilwood master cyclinders. one .625 and the other .700
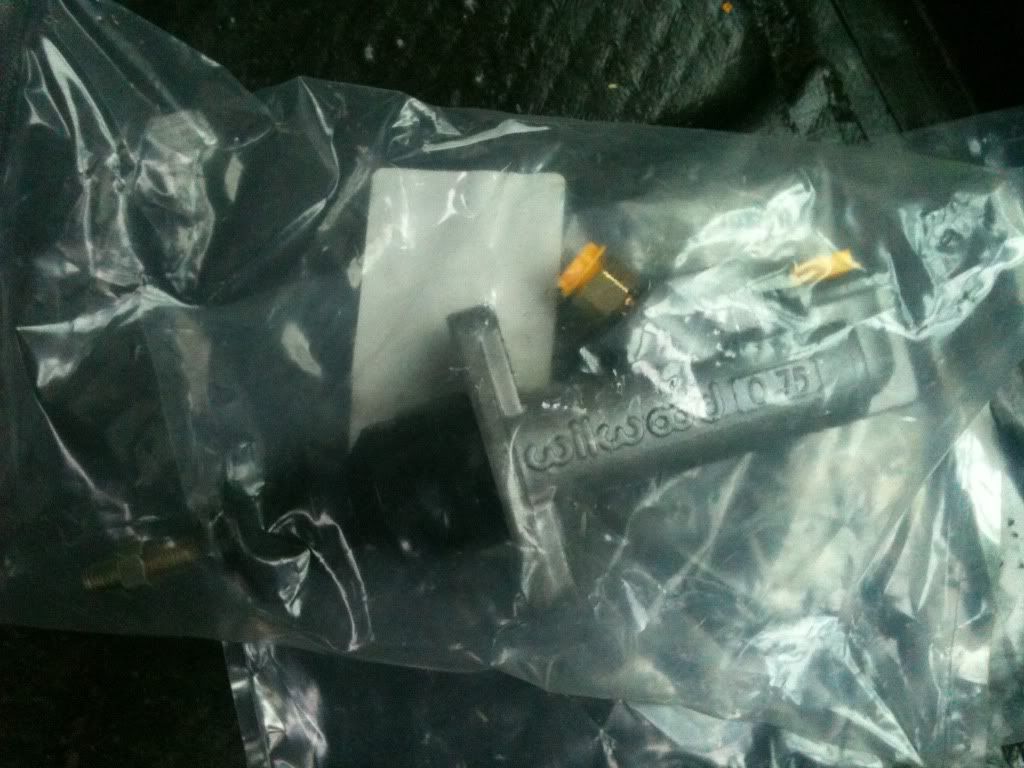
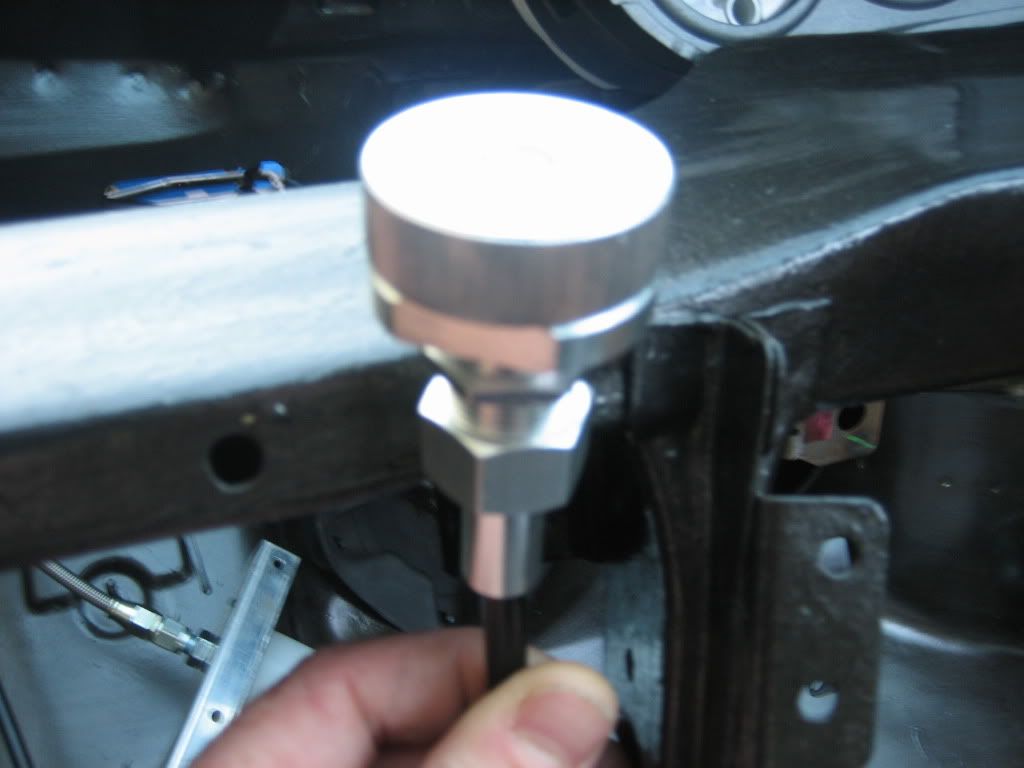
remote bias adjuster

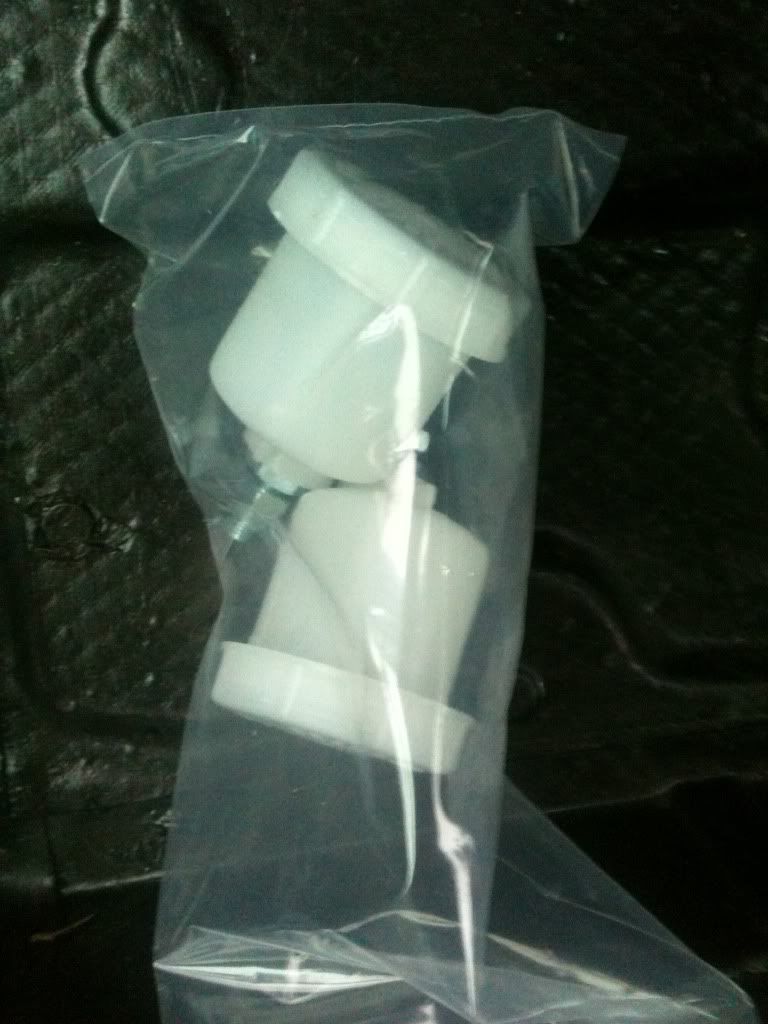
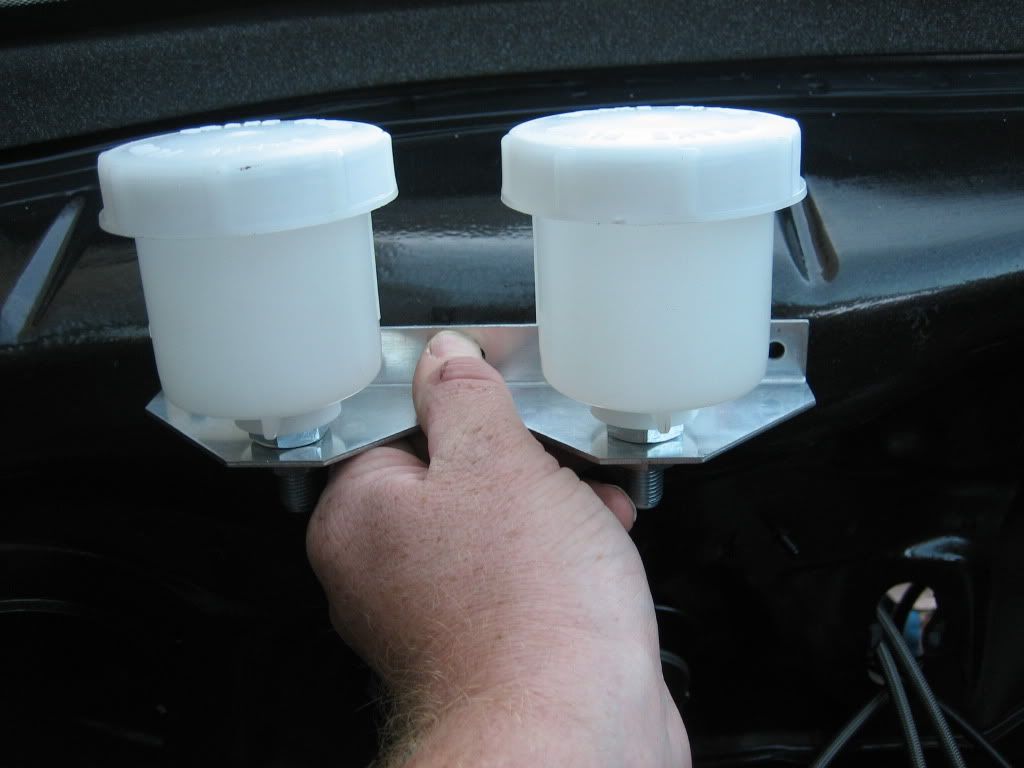
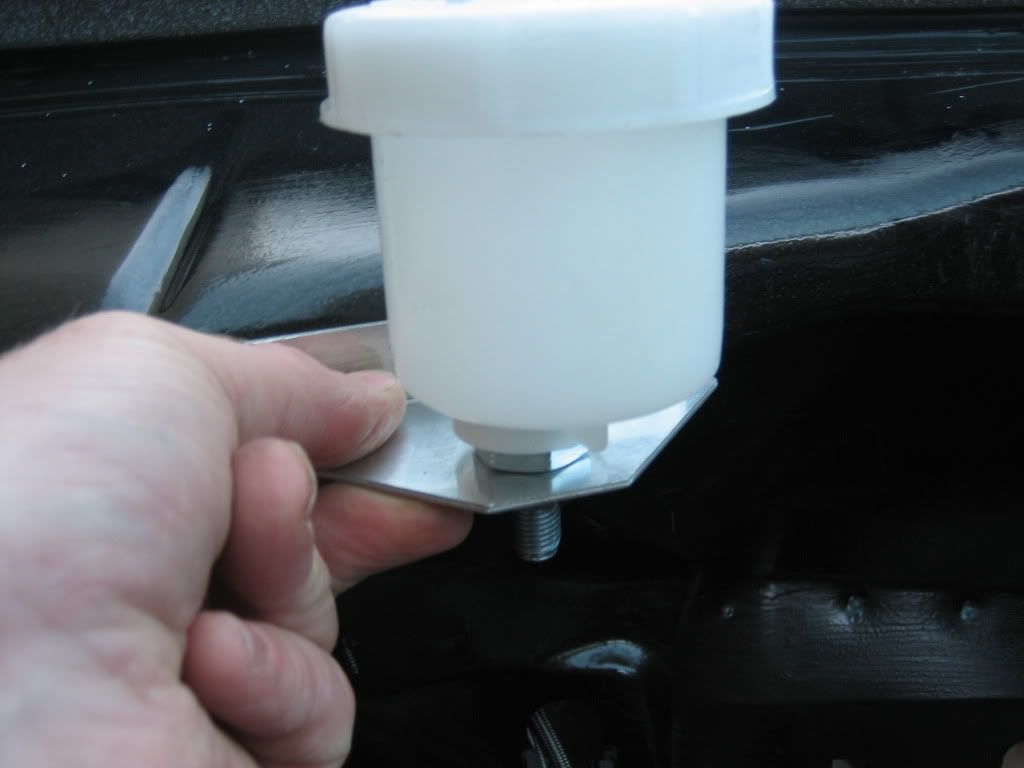
seperate fluid resevoirs (I did get mounting brackets, a double for the brake cyclinders and a single for the clutch)
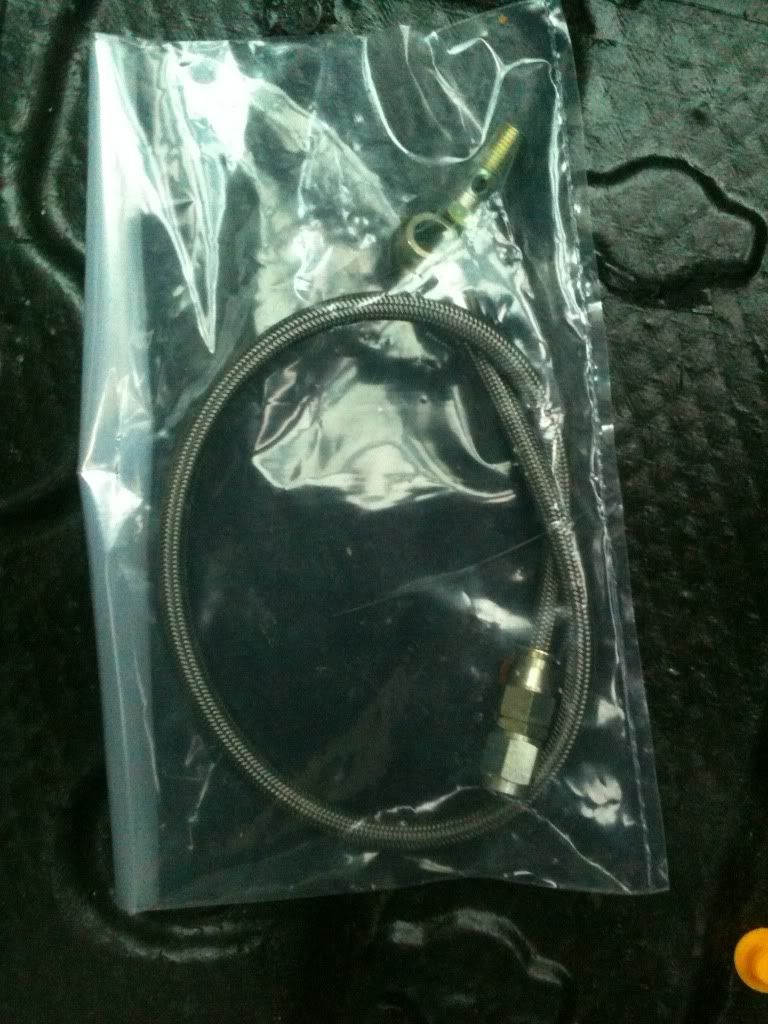
three of these resevoir to cylinder drop pipe kits
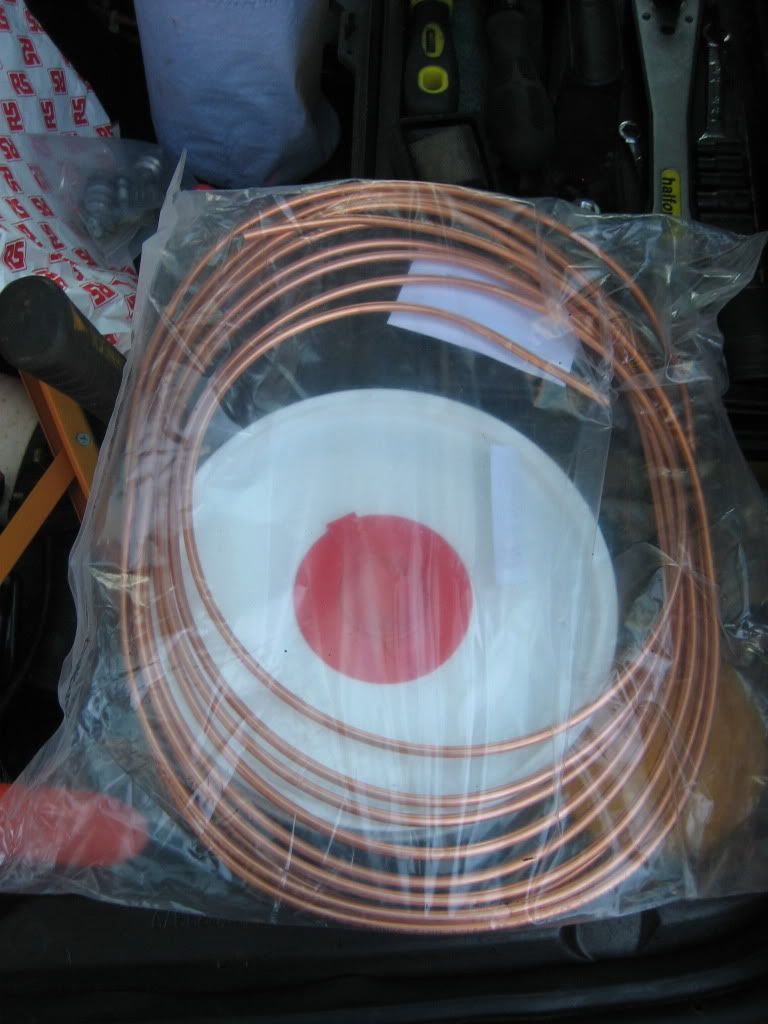
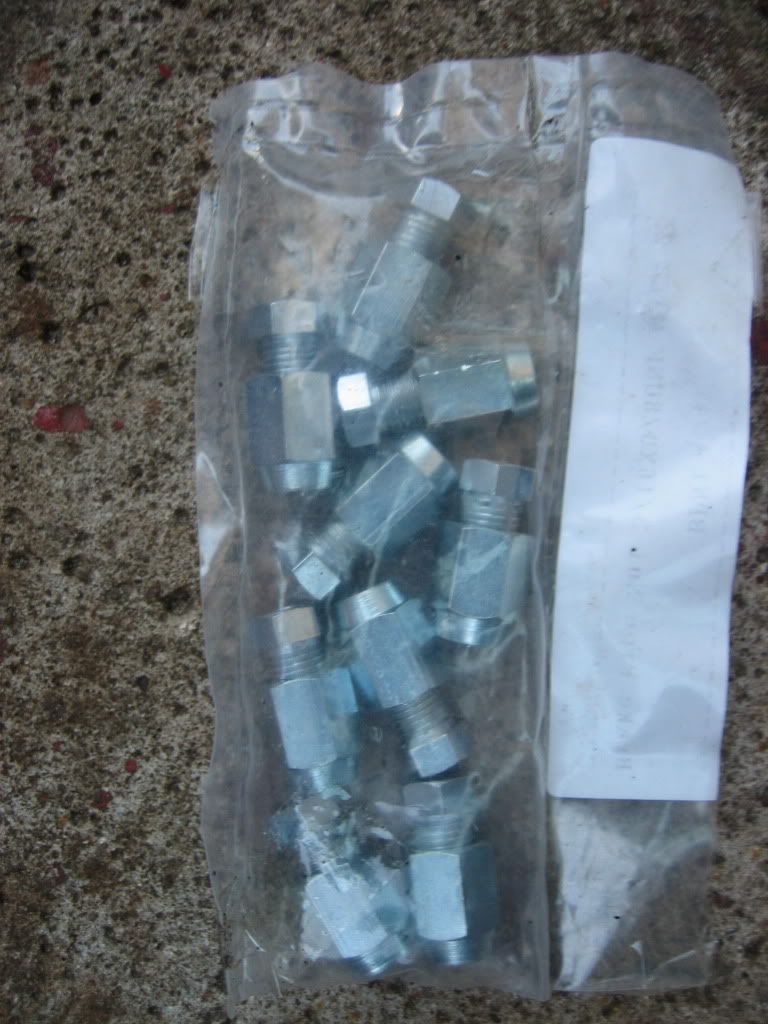
Copper brake pipe, new unions and T-pieces (not pictured)
so, having spent an age putting together and setting up the bias box we went to fit it and work out where the pipes etc would be run.
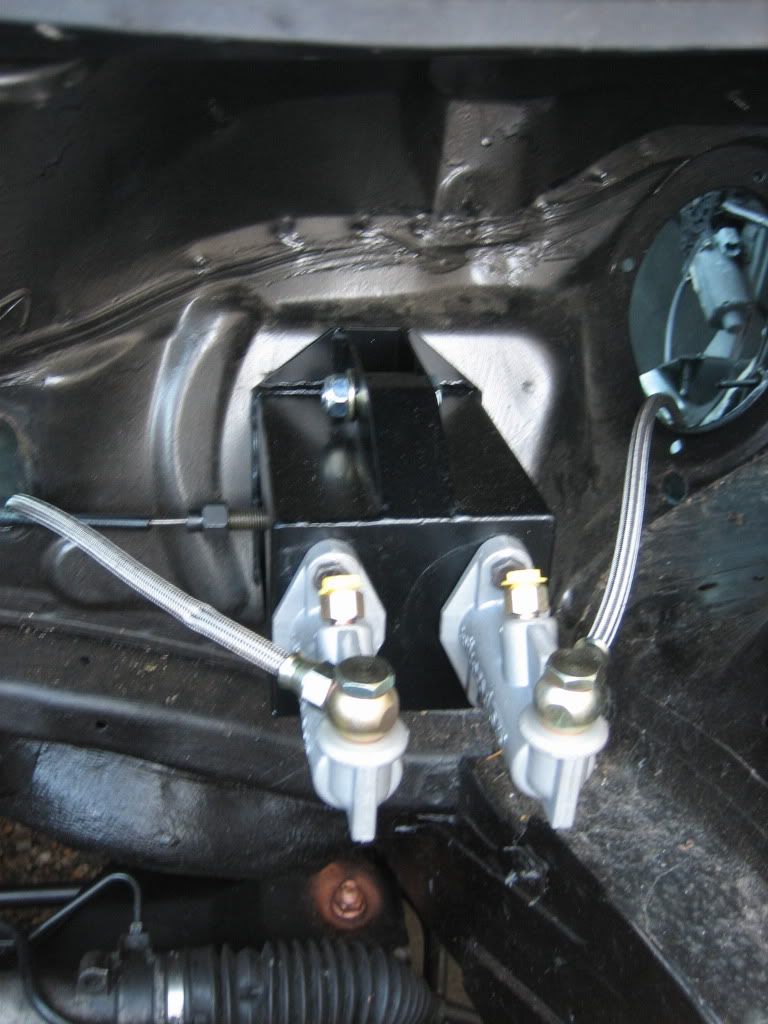
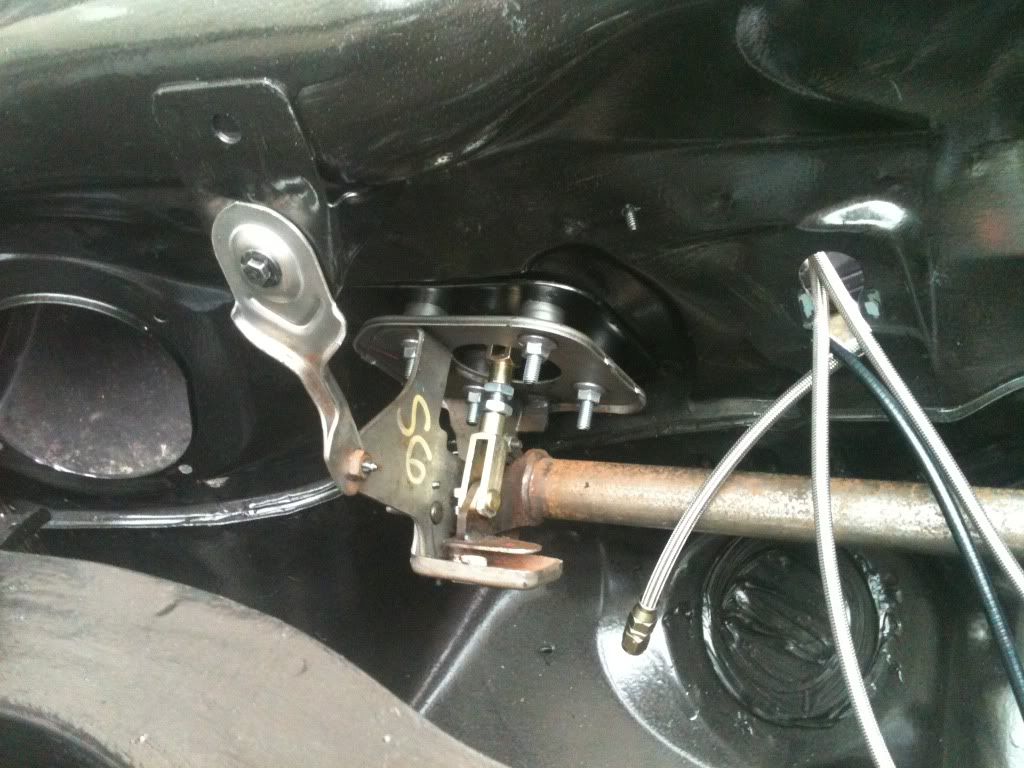
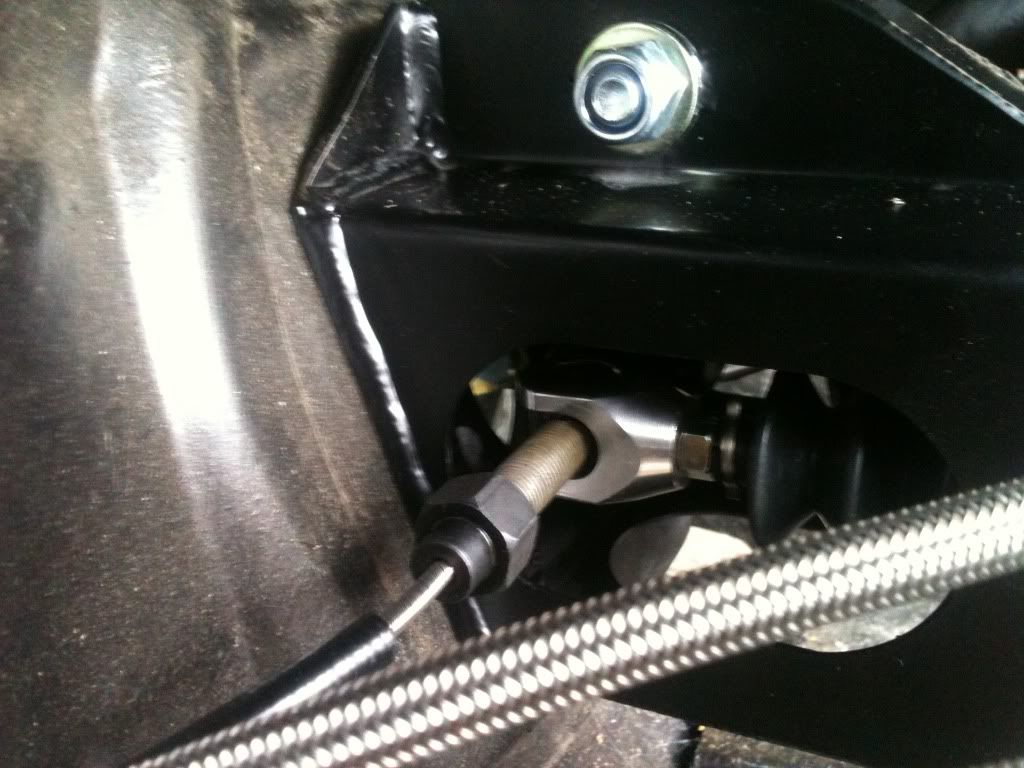
trial fitted the remote adjuster. its a trick little touch for those 'on track' brake adjustments! lol.
spent a bit of time on the placement of the resevoir pots too! lol.
also fitted the new clutch cylinder (well, i say new, i've had it for two years!)
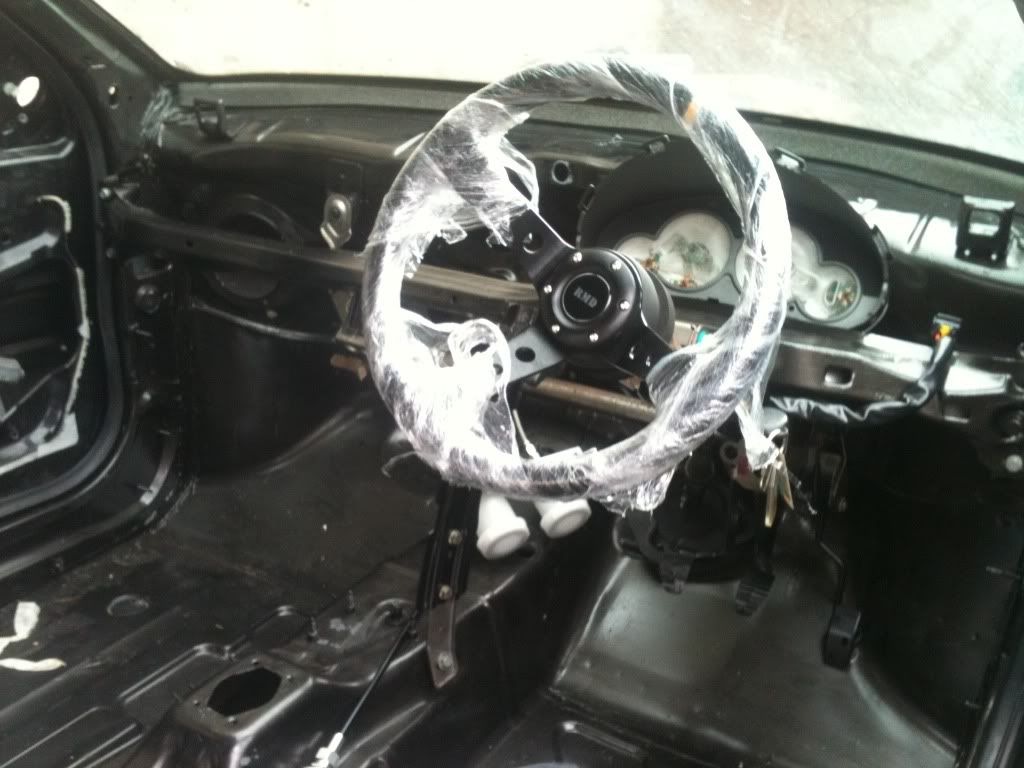
and lastly, both mine and Oggys fave part!
350mm Black suede Rally steering wheel with 3" dish (excuse the clingfilm)
thats pretty much where it stands atm. we've got a few small bits to do before we run the brake lines and clip them down, but, its moving at a steady pace!
| | |
|
|
|
|
|
|
|
|
|
|
Posted: Sun Sep 25, 2011 12:14 pm |
|
|
|
|
Joined: Feb 07, 2010
Posts: 1730
Trade Rating: +9
Location: Northants
|
|
coming along nicely
| | |
|
|
|
|
 | |  |
| WIP: Black 1.6 16v XSi
Beauté Noire | |
 | |  |
|
|
|
|
|
|
|
Posted: Sun Sep 25, 2011 1:23 pm |
|
|
|
|
Joined: Feb 08, 2010
Posts: 7043
Trade Rating: +5
Location: In the garage
|
|
It's amazing where all the ££££'s go and it's not even on its wheels...
| | |
|
|
|
|
| | |
| 2001 GTi 138, Bilstein Sprint dampers, H&R springs, 21mm Peugeot Sport torsion bars, 22mm rear ARB, Peugeot Sport Group A wishbones, 283mm discs, Goodridge stainless hoses, Maniflow 304 grade 4-2-1 2.5" manifold and system, 200 cell cat, Richard Longman head, 45mm Jenvey throttle bodies, 9.5mm TB spacers, 90mm air horns, Jenvey throttle linkage, Jenvey fuel rail, Aeromotive and Goodridge fuel fittings and braided hose, ITG sausage filter, Radtec custom radiator, Piper Ultimate Road cams, Piper vernier pulleys, Omex 600 ECU. Saxo electric PAS pump, Vibra Technics engine mounts. Samco coolant hoses, TTV steel flywheel, 4.76 final drive ratio, 307 CC 180 ratios. 2019 BMW 530i. 2017 Mercedes C300 convertible. | |
| | |
|
|
|
|
|
|
|
Posted: Sun Sep 25, 2011 1:39 pm |
|
|
|
|
Joined: Feb 07, 2010
Posts: 1730
Trade Rating: +9
Location: Northants
|
|
What was the total cost of the bush and bones?
| | |
|
|
|
|
| | |
| WIP: Black 1.6 16v XSi
Beauté Noire | |
| | |
|
|
|
|
|
|
|
Posted: Sun Sep 25, 2011 2:05 pm |
|
|
|
|
Joined: Feb 08, 2010
Posts: 960
Trade Rating: +11
Location: Hertfordshire
|
|
| Edward wrote: |
| It's amazing where all the ££££'s go and it's not even on its wheels... |
this is very true! although i've not really spent that much. circa 500 quid so far.
| PugJH wrote: |
| What was the total cost of the bush and bones? |
ermm, roughly 100 quid.
because its been done in stages i've not kept a major track of it tbh.
| | |
|
|
|
|
|
|
|
|
|
|
Posted: Sun Sep 25, 2011 11:31 pm |
|
|
|
|
Joined: Feb 07, 2010
Posts: 3085
Trade Rating: +12
Location: Essex
|
|
good start mate..... liking the way your thinking 
| | |
|
|
|
|
|
|
|
|
|
|
Posted: Mon Sep 26, 2011 1:35 am |
|
|
|
|
Joined: Apr 09, 2011
Posts: 445
Trade Rating: +1
Location: letchworth
|
|
cant wait for this to be on the road coming along nicely fella
| | |
|
|
|
|
| | |
| if it dont scuff the ruff it aint low enuf | |
| | |
|
|
|
|
|
|
|
Posted: Mon Sep 26, 2011 6:10 am |
|
|
|
|
Joined: Feb 08, 2010
Posts: 960
Trade Rating: +11
Location: Hertfordshire
|
|
| macj wrote: |
| good start mate..... liking the way your thinking |
coming from you, i know im on the right track
| dumdum0910 wrote: |
cant wait for this to be on the road  coming along nicely fella coming along nicely fella |
yea, neither can i! lol. btw, LOWER your damn car! hehe
WOOP!! pipe clips arrived this morning, so we can get to work on the brakelines. still need some braided hoses for the rears tho.
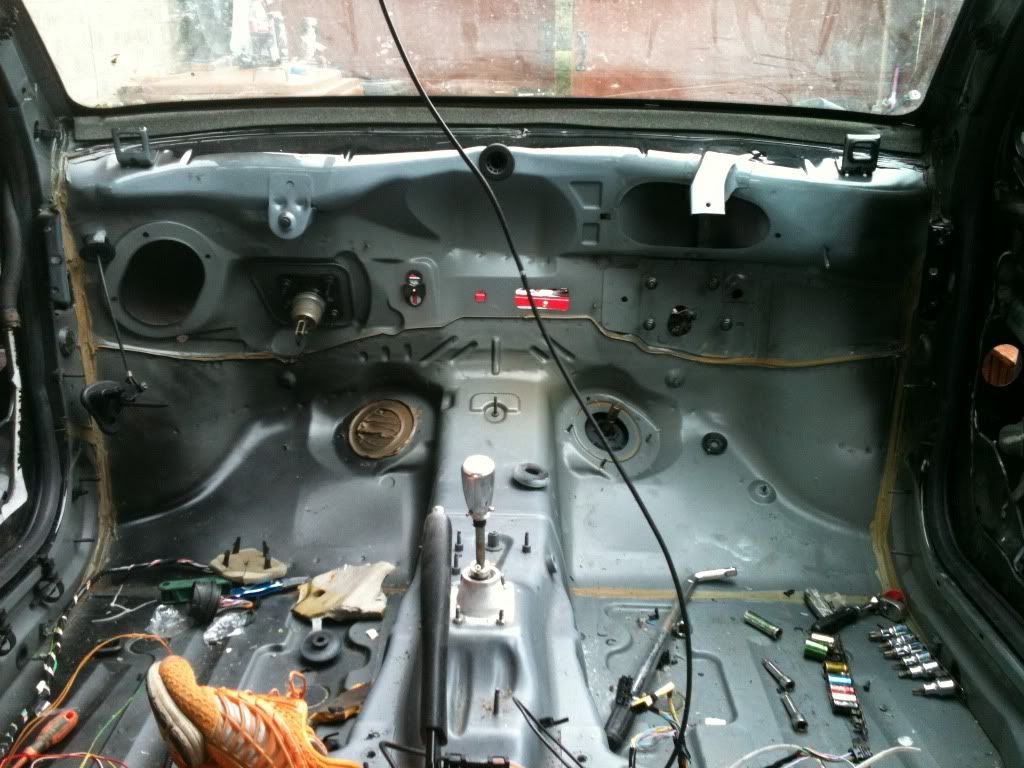
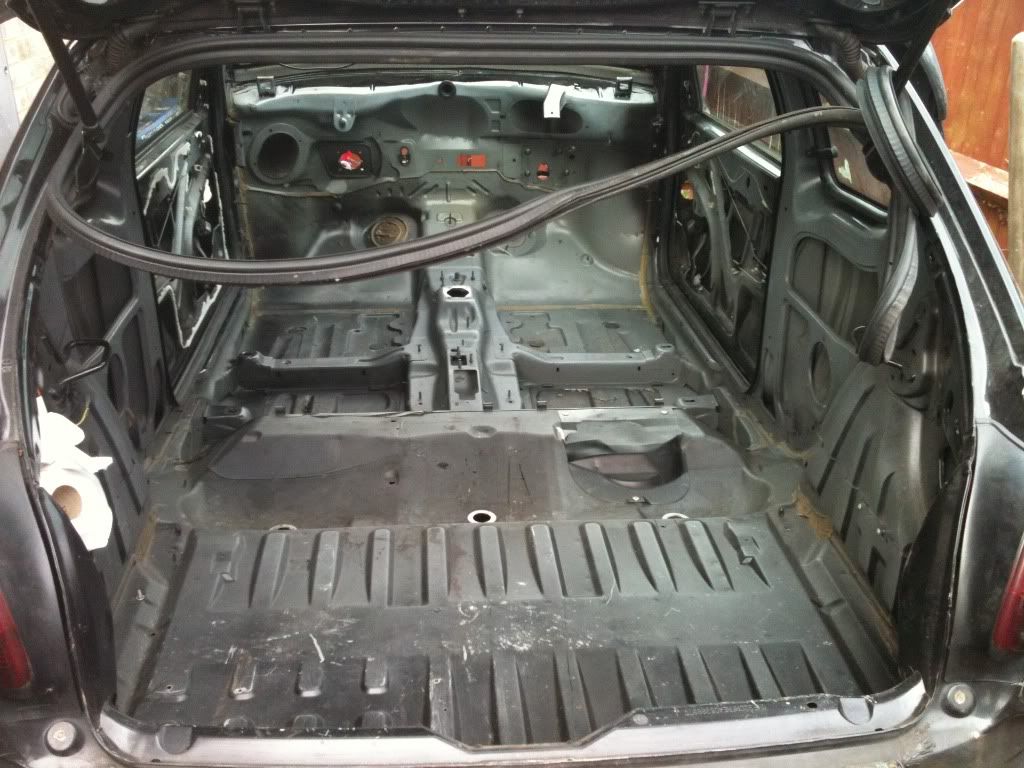
To waste time whilst the funds recover, we're gonna get the loom/electrics sorted. chop out the unwanted crap and rewrap it, bind it all in.
More pics as it happens.
| | |
|
|
|
|
|
|
|
|
|
|
Posted: Mon Sep 26, 2011 10:54 am |
|
|
|
|
Joined: Feb 07, 2010
Posts: 3085
Trade Rating: +12
Location: Essex
|
|
I ran cupro-nickel pipe inside the car to the rear, "T" piece under the floor and solid to each side and used flexi brake pipe to the calipers. Bearing in mind I have hydraulic handbrake. I assume with the bias pedal box you will run one pipe to rear via the handbrake cylinder (if used). It also means you can get on without waiting for the hose to come 
Electrics are fun on the 206 as the French earth everything a thousand times when one common earth would do. I did what you are doing and split the original loom and junked all the rubbish. Are you going to use standard ECU?
| | |
|
|
|
|
|
|
|
|
|
|
Posted: Mon Sep 26, 2011 2:52 pm |
|
|
|
|
Joined: Feb 08, 2010
Posts: 960
Trade Rating: +11
Location: Hertfordshire
|
|
Yep standard ecu and funny enough exactly that with the brakes! Just minus the hydraulic handbrake (keeping the costs down as a normal
Handbrake will be sufficient ATM).
I'm yet to believe the 'fun' part of the loom (even if I am
An electrician by trade! Lol). We shall see what goes
On but I'm sure it'll have plenty cut out as alot of other stuff is out too, like abs and aircon
| | |
|
|
|
|
|
|
|
|